Signals Intelligence & The Raspberry Pi
The Pi provides a compact, yet effective SIGINT research station.
If you aren’t a medium member, you can read with no paywall via substack
When you’re starting to look at signal analysis from the beginner's perspective, it can be a daunting prospect to start with and there’s usually a lot of information to cover. There are hardware-based systems, web-based systems and what exactly are we looking at on the radio spectrum anyway?! This can turn a fun, exciting new project into an overwhelming mess, drawing on your patience and motivation.
Today, we’re going to cut through all that noise and talk about using one of our favourite single-board computers paired with a few select pieces of hardware to create a basic SIGINT receiving station. We can use it to detect aircraft, local signals, ISM signals and, with the right antenna, even signals from space. And, rather than using the default Raspbian OS, we’re going to use a dedicated, SIGINT-focused OS. Grab your hardware and let's get started!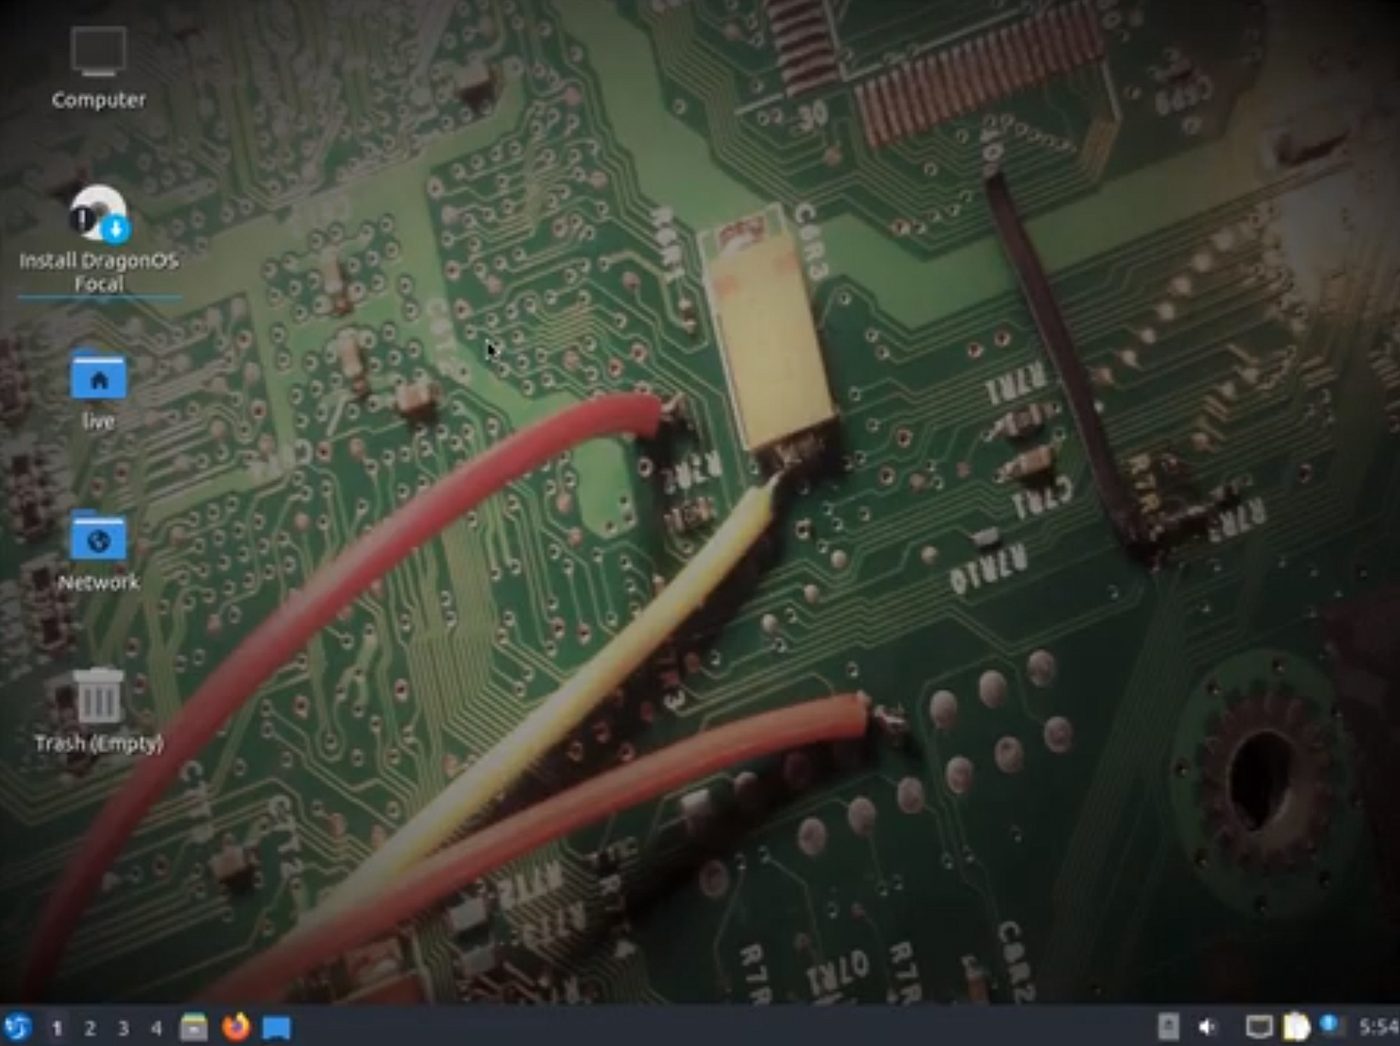 To complete this project, you’ll need experience flashing an SD card, and some basic Linux experience.
About Dragon
Created during the COVID pandemic, Dragon OS was designed to be a radio-focused, pen-testing and analysis distro, similar to Kali Linux or Parrot OS. Capable of working with a wide range of signal protocols and hardware, it’s setup out of the box to work with Bluetooth, Wi-FI, ISM, Phones and most of the radio spectrum using either cheap devices like the RTL-SDR or dedicated SDR units like the bladeRF or hackRF systems.
While it’s not the first Signals-based distro, it’s one of the easiest to get started with and its wide range of pre-installed tools and standard package manager make it very beginner-friendly. Once paired with the Raspberry Pi, it’s a very cool bit of gear.
Requirements
Raspberry Pi Board
Peripherals (Power Supply, SD Card, Keyboard & Monitor or Device for SSH access)
RTL-SDR dongle
Monitor Mode Wi-Fi Card
Operating System
While the default Raspbian distro is a pretty good OS for many purposes, for SIGINT purposes it’s somewhat lacking. While we can configure it appropriately, this will probably take some additional time. Given we are all about that efficiency, time is important so another option is now on the table. We’ll use DragonOS, which comes configured with many useful tools that can assist in navigating the radio spectrum with minimal fuss.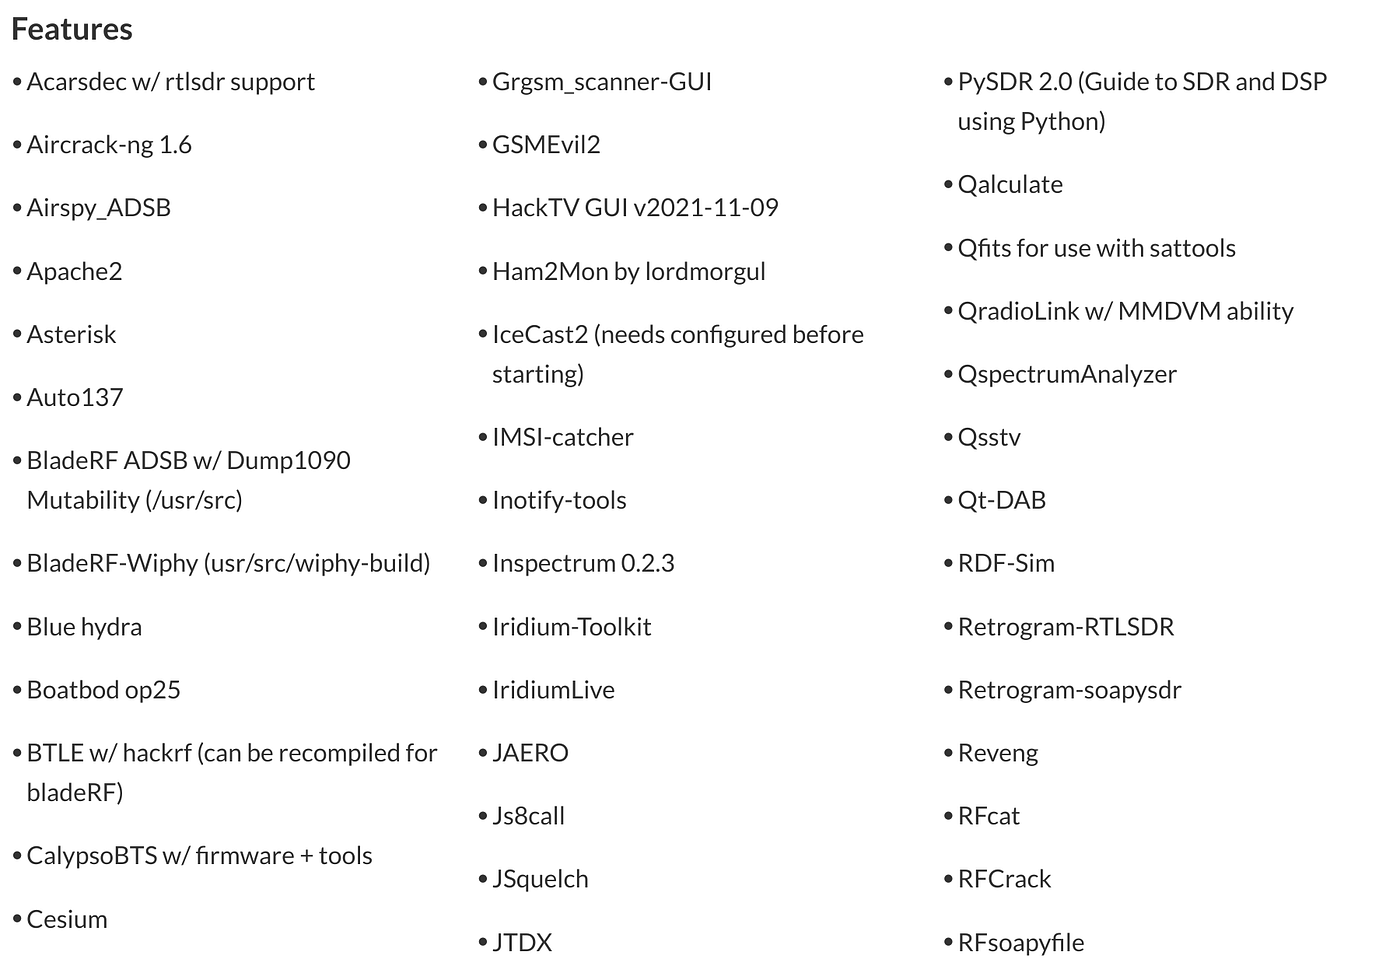 It also comes with plenty of pre-configured drivers for many different Software Defined Radios. This includes the RTL-SDR, the bladeRF, the hackRF and more. This means that most devices will typically be plug-and-play. For beginners, this is ideal as it makes most projects easy to configure, meaning that you can concentrate on the job at hand rather than trying to find the right driver.
Setting Up
To configure our Pi with the appropriate image, we’ll need to download it and then flash it to our SD card. But first, the OS image.
We can collect that from the SourceForge repository, where the latest version of Dragon is available for download. Find it via this link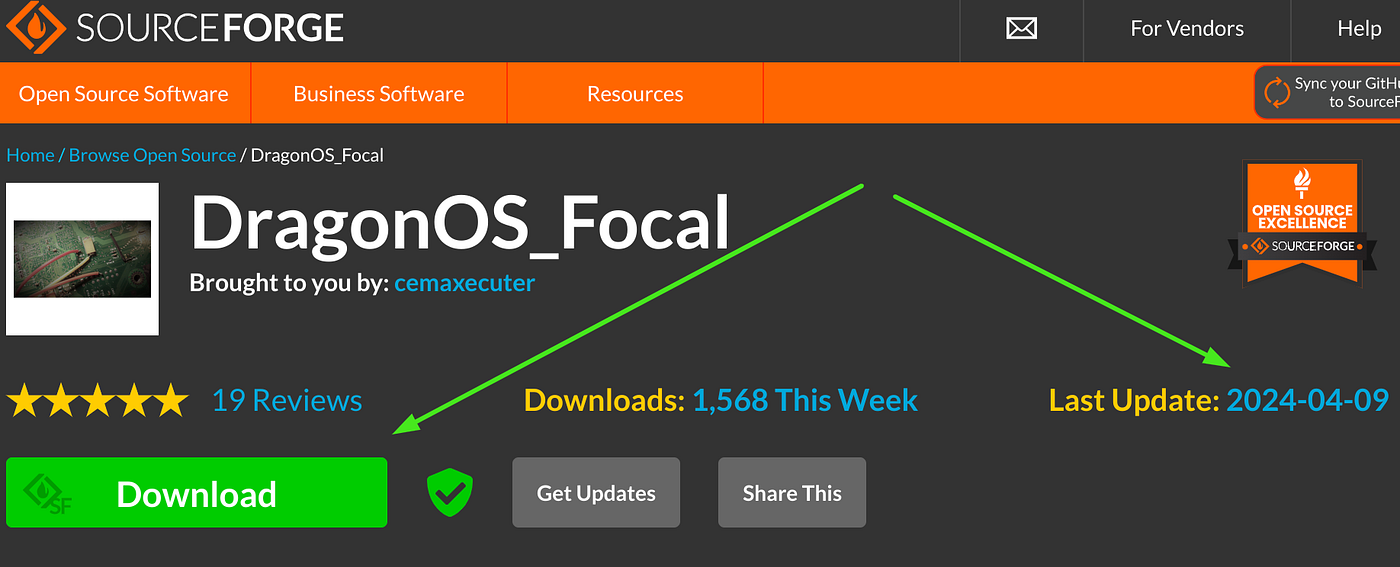
Once we’re on the Sourceforge page, we should be able to confirm we are getting the latest version by checking the date of the most recent update. We should also confirm that we’re getting the correct image for our version of the Raspberry Pi, as there are some small variances between the different models. Then, when we’re happy with that, we can hit the download tab and wait for it to be available locally.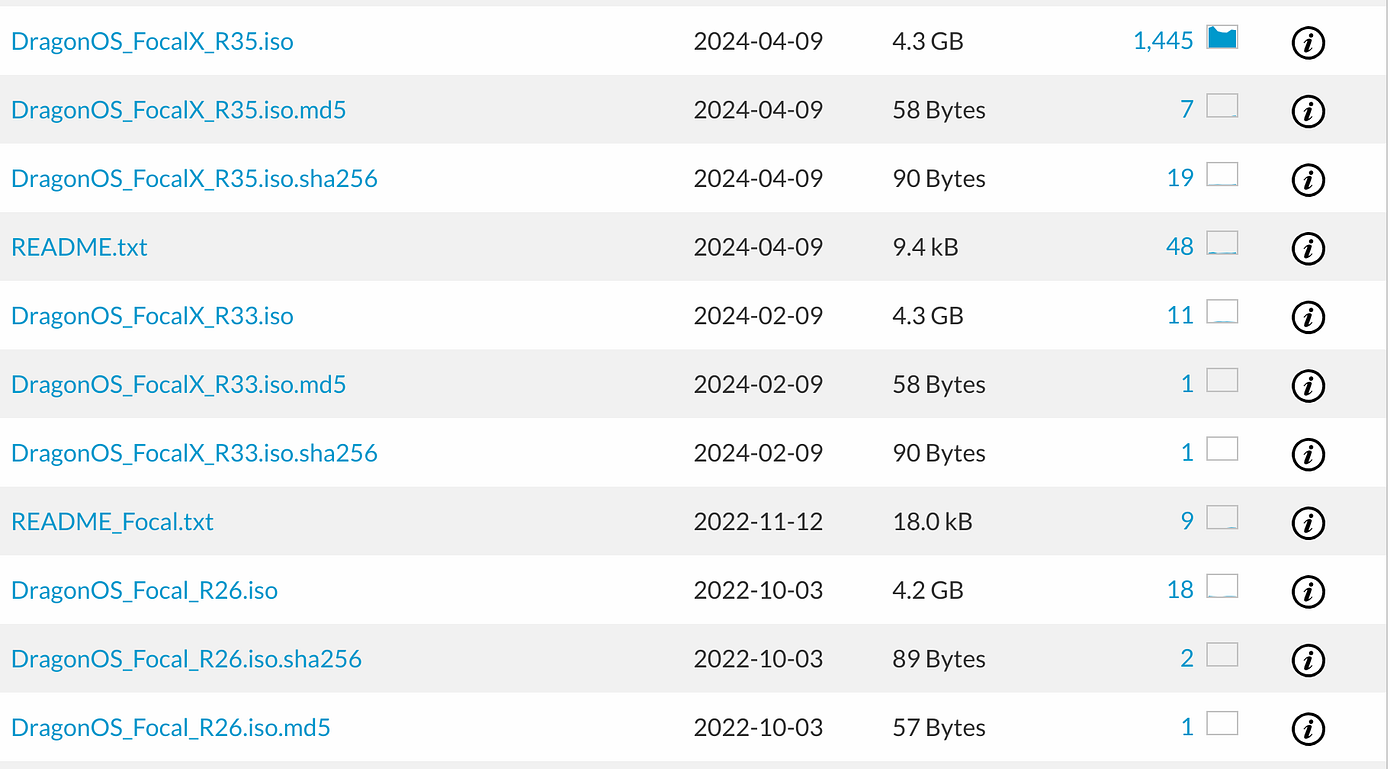 When it’s available on our local machine, we’ll need to flash it on our SD card. We can do this using Balena Etcher like we have with other projects. But first, we’ll need to check the integrity of the download by comparing the MD5 sum. If you’re a Linux user, we can do this in the terminal using the following command
md5sum /path/to/downloaded/file
To confirm integrity, we’ll want to compare the displayed output with the one stored on the Sourceforge website. If they match, our file is good and we are ready to go.
Our final step is flashing the OS to an SD card so it’s available for use with our Raspberry Pi. This is a reasonably straightforward step, so we won’t bother breaking that down for you, but if you have any issues you can troubleshoot them using the Balena Website.
Once the flash is complete, we can put the SD card into the Pi, give it some power and wait for it to boot. Providing that the installation was done correctly, we should be able to boot into the desktop. At this point, you should ensure you have changed the default user/password combination.
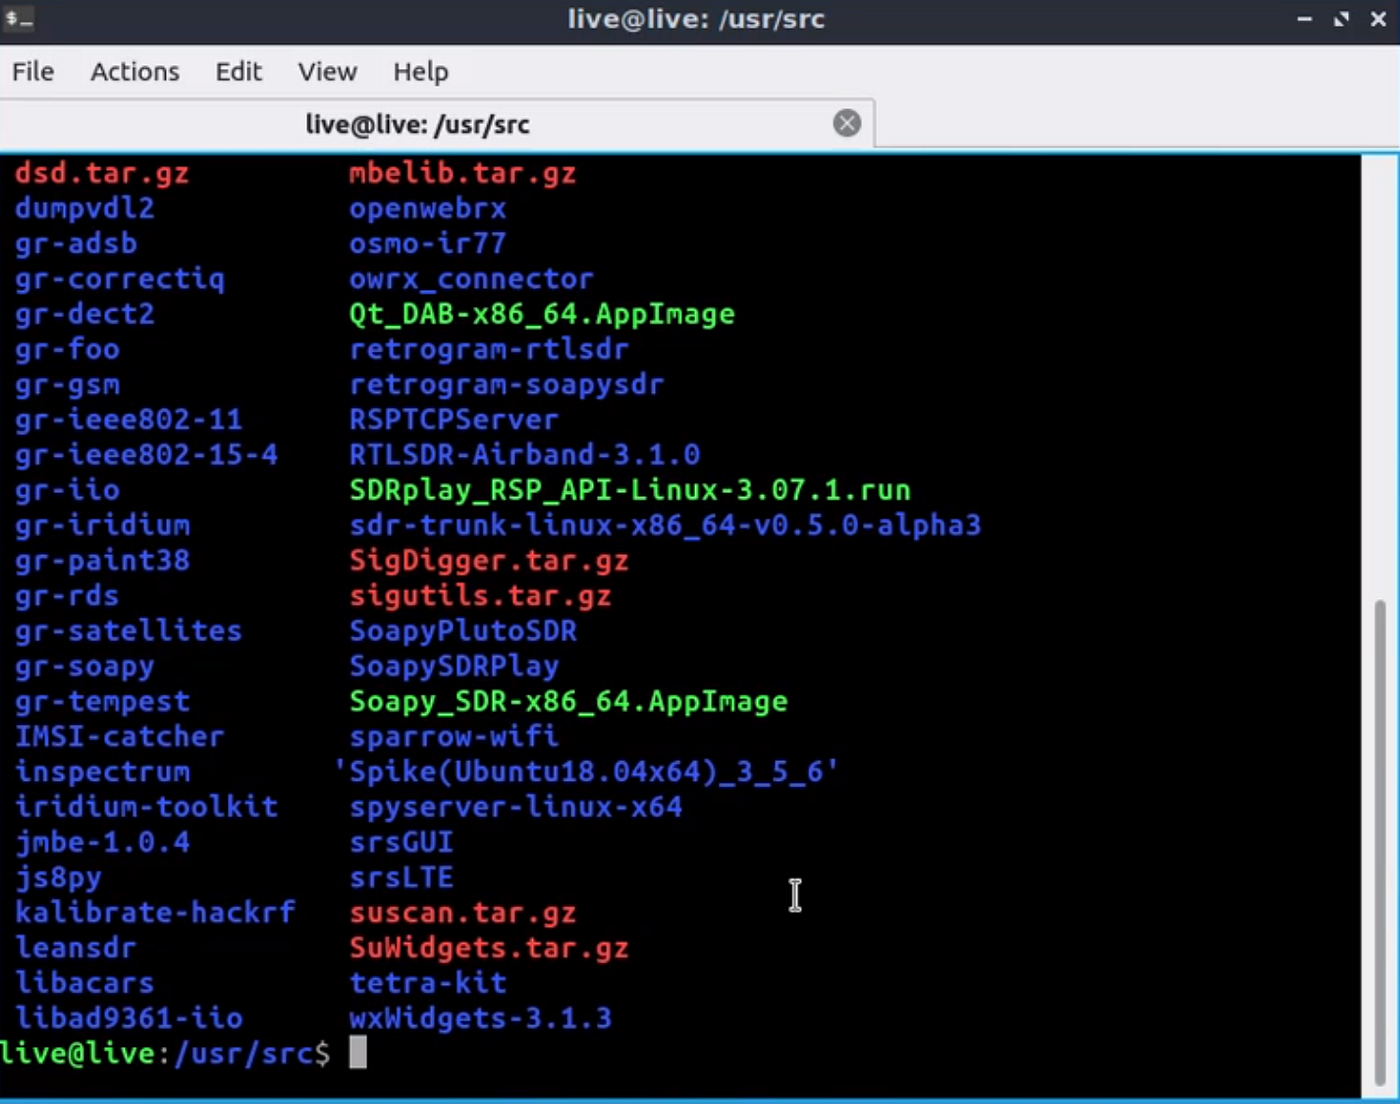
If you then jump into the terminal, we can get a look at some of the tools available to us by searching the available files / programs with the ls command.
ls -la
Final Words
So there you have it. We’ve now turned our unused Raspberry Pi board into a basic, wideband signals analysis station that is now only limited by the range of your radio receiver and onboard sensor package.
Given the comprehensive range of software that comes pre-installed with Dragon, it’s easy to do the installation and wonder what's next. However, we’ve got you covered with tutorials working through some of the tools available on Dragon OS over the coming months.
Have you used the Raspberry Pi for a home-built project? Do you have a suggestion for a project, or would you like to see a tutorial covering a specific topic? Leave a suggestion in the comments. We’d love to hear from you!
Medium has recently made some algorithm changes to improve the discoverability of articles like this one. These changes are designed to ensure that high-quality content reaches a wider audience, and your engagement plays a crucial role in making that happen.
If you found this article insightful, informative, or entertaining, we kindly encourage you to show your support. Clapping for this article not only lets the author know that their work is appreciated but also helps boost its visibility to others who might benefit from it.
🌟 Enjoyed this article? Support our work and join the community! 🌟
💙 Support me on Ko-fi: Investigator515
📢 Join our OSINT Telegram channel for exclusive updates or
📢 Follow our crypto Telegram for the latest giveaways
🐦 Follow us on Twitter and
🟦 We’re now on Bluesky!
🔗 Articles we think you’ll like:
- What The Tech?! Rocket Engines
- OSINT Investigators Guide to Self Care & Resilience
✉️ Want more content like this? Sign up for email updates


