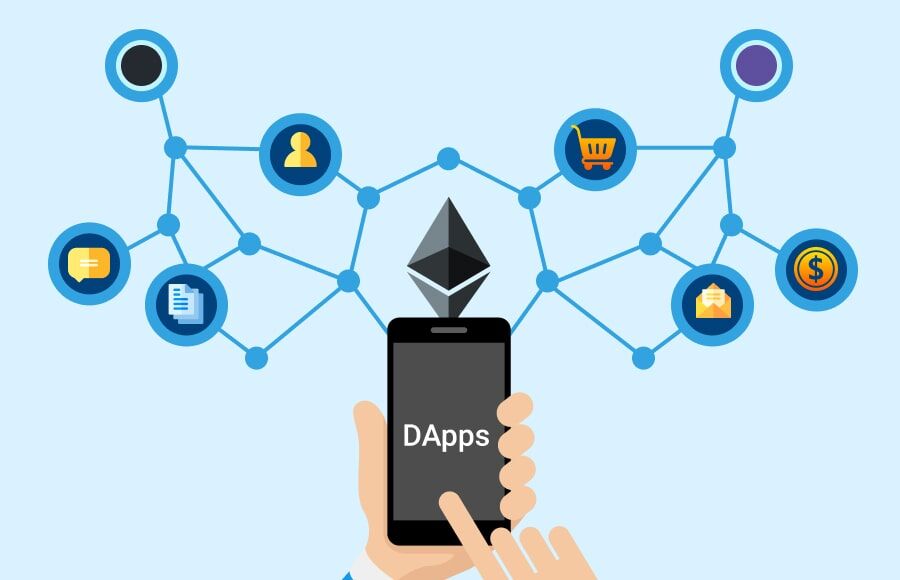
How to Build Your First dApp on Tron’s Blockchain
The rise of blockchain technology has spurred innovation across industries, and decentralized applications (dApps) are at the forefront of this revolution. Tron, with its high throughput and cost-efficient model, has become a popular platform for developers aiming to create dApps. 
This guide provides a step-by-step approach to building your first dApp on Tron’s blockchain, ensuring you understand the necessary tools and techniques.
Understanding Tron and Its Advantages for dApp Development
Tron is a blockchain platform designed for decentralized content sharing and entertainment. However, its scope has expanded to support diverse decentralized applications. Developers are drawn to Tron due to its:
- High Scalability: Tron’s blockchain processes transactions swiftly, thanks to its Delegated Proof-of-Stake (DPoS) mechanism.
- Low Transaction Costs: Unlike some blockchains, Tron significantly reduces the cost of deploying and interacting with dApps.
- Developer-Friendly Ecosystem: Tron offers comprehensive documentation, developer tools, and support through its TRON Developer Hub.
These features make Tron an excellent choice for developers building scalable and cost-effective dApps.
Setting Up Your Development Environment
Before diving into the actual coding, it’s essential to set up a suitable development environment. Here’s how:
1. Install Node.js and npm
Node.js is a runtime environment that enables JavaScript execution on your system, and npm (Node Package Manager) is crucial for managing dependencies.
- Download and install Node.js from nodejs.org.
- Verify the installation using the command:
bash
Copy code
node -v
npm -v
2. Install TronBox
TronBox is a framework for building, testing, and deploying Tron smart contracts. Install it globally using npm:
bash
Copy code
npm install -g tronbox
3. Set Up TronGrid
TronGrid provides API endpoints to interact with the Tron blockchain without running a full node. Create an account on TronGrid to access API keys.
Writing Your Smart Contract
A smart contract is the backbone of any dApp. Tron smart contracts are written in Solidity, the same language used for Ethereum contracts, making it easier for developers familiar with Ethereum.
1. Create a Project Directory
Navigate to a suitable location on your system and create a directory for your project:
bash
Copy code
mkdir MyFirstDapp
cd MyFirstDapp
2. Initialize the Project
Use TronBox to initialize the project structure:
bash
Copy code
tronbox init
This creates folders for contracts, migrations, and tests.
3. Write Your Smart Contract
In the contracts folder, create a .sol file, e.g., HelloTron.sol, and write a simple contract:
solidity
Copy code
pragma solidity ^0.8.0;

contract HelloTron {
    string public message;

    constructor(string memory _message) {
        message = _message;
    }

    function setMessage(string memory _newMessage) public {
        message = _newMessage;
    }
}
4. Compile and Migrate the Contract
Compile the contract using:
bash
Copy code
tronbox compile
Migrate it to the Tron blockchain:
bash
Copy code
tronbox migrate --network <network_name>
Replace <network_name> with the desired network, such as shasta (Tron’s testnet).
Building the Frontend for Your dApp
A dApp isn’t complete without a user interface. TronLink, a browser extension, is a popular wallet for interacting with Tron dApps. Here’s how to connect your frontend:
1. Create a Frontend
Set up a simple frontend using HTML, CSS, and JavaScript. For example, create an index.html file and include basic UI elements like buttons and input fields.
2. Connect to TronLink
Use TronWeb, a JavaScript library, to interact with your smart contract:
html
Copy code
<script src="https://cdn.jsdelivr.net/npm/tronweb/dist/TronWeb.js"></script>
<script>
    const tronWeb = new TronWeb({
        fullHost: 'https://api.shasta.trongrid.io',
        privateKey: '<your_private_key>'
    });

    const contractAddress = '<deployed_contract_address>';

    async function getMessage() {
        const contract = await tronWeb.contract().at(contractAddress);
        const message = await contract.message().call();
        console.log(message);
    }

    async function setMessage(newMessage) {
        const contract = await tronWeb.contract().at(contractAddress);
        await contract.setMessage(newMessage).send();
    }
</script>
Replace <your_private_key> and <deployed_contract_address> with actual values from your deployment.
Testing and Deploying Your dApp
Testing ensures that your dApp functions as expected before deployment.
1. Test Smart Contracts
Write test cases in the test directory using JavaScript and TronWeb. A simple example:
javascript
Copy code
const HelloTron = artifacts.require('HelloTron');

contract('HelloTron', accounts => {
    it('should deploy and return the correct initial message', async () => {
        const instance = await HelloTron.deployed();
        const message = await instance.message.call();
        assert.equal(message, 'Hello, Tron!');
    });
});
Run tests using:
bash
Copy code
tronbox test
2. Deploy to Mainnet
Once testing is complete, configure your tronbox.js file with the Mainnet endpoint and deploy:
bash
Copy code
tronbox migrate --network mainnet
3. Monitor Usage
Use TronScan, Tron’s blockchain explorer, to monitor contract interactions and ensure smooth functionality.
References
Here are resources to deepen your understanding and streamline your dApp development:
- Tron Developer Hub
- TronGrid
- Node.js Official Website
- Solidity Documentation
- TronLink Wallet
- TronBox Documentation
- TronWeb Library
- TronScan Blockchain Explorer
- Shasta Testnet Guide
- Ethereum to Tron Migration Guide


![[ℕ𝕖𝕧𝕖𝕣] 𝕊𝕖𝕝𝕝 𝕐𝕠𝕦𝕣 𝔹𝕚𝕥𝕔𝕠𝕚𝕟 - OM(G) , My Biggest Bag Was A Scam????](https://cdn.bulbapp.io/frontend/images/99de9393-38a8-4e51-a7ab-a2b2c28785bd/1)


