Signals From the Cosmos: Detecting The Hydrogen Line
RTL-SDR hardware can be used to monitor the Hydrogen line.
As we explore the radio spectrum, we’ve typically focused on man made signals that are usually easy to detect. However given the propagation qualities of VHF & UHF signals, we typically find that these signals vary from region to region.
However it’s lessor known that with an SDR or radio receiver we’ll also be able to receive plenty of environmental and atmospheric noises. Like most other signals, these typically vary according to the frequency in use and often, the weather is also a contributing factor that aids in the detection of these signals.
Some of the types of noises we may hear include:
- Thunderstorms & Weather: Typically heard on long wave bands, 1.8mhz and below
- Meteor Scatter: Varies according to conditions. Usually VHF & UHF. Popular with amateur operators, who bounce radio signals off the incoming meteors.
- Aurora: Popular on VHF or more particularly the 50mhz / 6 mtr band.
- Solar Radio Waves: Varies according to conditions and solar cycle. Some observatories use solar focused radio receivers to assist in space weather predictions.
While listening to, and detecting these emissions can be fun, you’ll often find that doing so can often require specialized equipment. You may need an amateur license, or a large antenna array or have some other obstacle stopping you from experimenting with these signals.
However, if this does interest you there is one environmental signal that’s perfect for cheap detection. It also doesn’t require a large antenna array. It’s known as the hydrogen line, and monitoring it has been an essential part of radio astronomy for quite some time.
What is It
To get a quick synopsis of exactly what the hydrogen line is, let’s ask ChatGPT for a quick summary.
Input: Give a simple explanation of the Hydrogen Line please.
Output: Certainly! The hydrogen line refers to a specific frequency of electromagnetic radiation associated with the hydrogen atom. This spectral line is a fundamental concept in radio astronomy and is particularly significant in the study of the universe.
Explanation:
1. Atomic Structure of Hydrogen:
Hydrogen, the simplest and most abundant element in the universe, consists of a single proton in its nucleus and an orbiting electron.
2. Energy Transitions:
When the electron in a hydrogen atom transitions between energy levels, it absorbs or emits energy in the form of electromagnetic radiation.
3. The 21-cm Line:
The hydrogen line specifically refers to the emission or absorption of radiation at a wavelength of approximately 21 centimeters (or a frequency of about 1420.40575 megahertz). This corresponds to the transition of the electron between the two lowest energy levels in a hydrogen atom.
4. Hyperfine Structure:
The 21-cm line is a result of the hyperfine structure of the hydrogen atom, which involves the interaction between the magnetic moment of the electron and the magnetic moment of the proton.
5. Significance in Radio Astronomy:
The hydrogen line is crucial for radio astronomers because it provides a unique and easily detectable signal from neutral hydrogen gas in space. This signal allows astronomers to map the distribution of hydrogen in our galaxy and beyond.
6. Mapping Cosmic Hydrogen:
By observing the hydrogen line, astronomers can create maps of the distribution of neutral hydrogen in galaxies, helping them understand the structure and dynamics of cosmic structures like spiral arms, interstellar clouds, and the large-scale structure of the universe.
7. Cosmic Distance Measurements:
The redshift of the hydrogen line in distant galaxies due to the expansion of the universe allows astronomers to estimate the distance to those galaxies. This is a key tool in determining the scale and age of the cosmos.
In summary, the hydrogen line is a specific radio frequency associated with the transition of hydrogen atoms. Its discovery and study have significantly contributed to our understanding of the structure and dynamics of the universe, making it a foundational concept in the field of radio astronomy.
That explanation about covers it. But more importantly, we should note that ChatGPT has now given us a few things relevant to detecting it in our own environment.
Our Station:
Our receive station for this exercise is listed below.  Receiver: SDRPlay RSP2Pro
Antenna: Diamond DJ-130 Discone Antenna. Mounted 7 mtrs above ground and fitted with Diamand DMAX-40E Preamp.
Computer: Macbook Pro, Linux powered and running SDRConnect Software.
How Do I Detect It:
While detecting the hydrogen line is pretty simple in it’s most basic form, we’ll still need some equipment to assist us along the way. We’ll need:
- RTL-SDR dongle or equivalent Unit. If you don’t have an RTL try using WebSDR.
- Antenna, preferably within the frequency range we’re looking for.
- Computer, Will need to run your choice of capture software.
Like any other RF based project, we’ll also need frequency and mode information as well.
Thankfully for us, ChatGPT has very kindly provided us with this information during our conversation earlier.
Frequency: 1420.4Mhz. Frequencies in this range have a wavelength of around 21cm
Mode: Narrow Band FM is typically best (NFM or FMN)
To start the exercise is reasonably simple.
- Tune your receiver to 1420.4mhz
- Select FM mode.
- Open your squelch until you hear white noise.
- Adjust RF Gain if required.
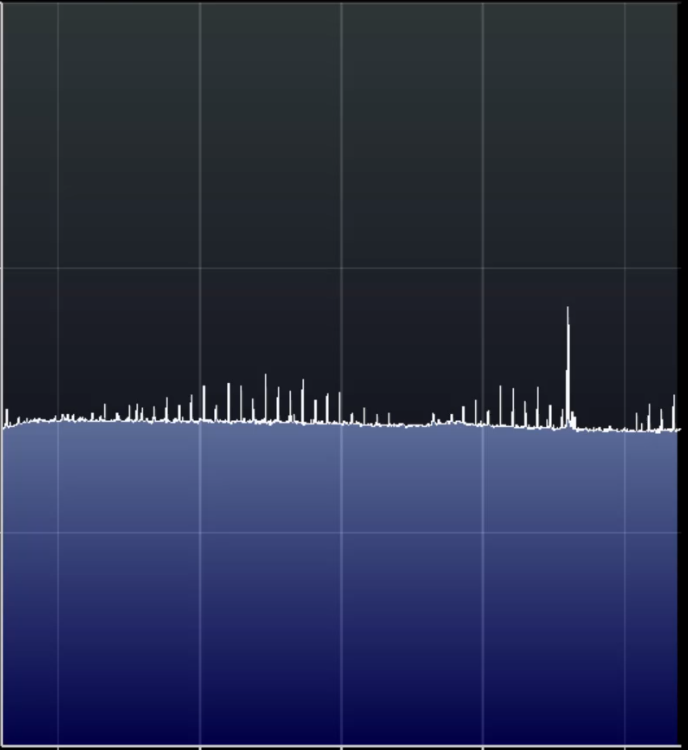
- Then, depending on your location you should see a rise in the noise floor along with a distinctive, narrow band signal pattern in your waterfall display.
 The large peak should be easily visible in the waterfall. Source RTL-SDR.com
While you should be able to detect the signal reasonably quickly, it’s important to understand that we’ll have to optimize a few things should we want to achieve better results.
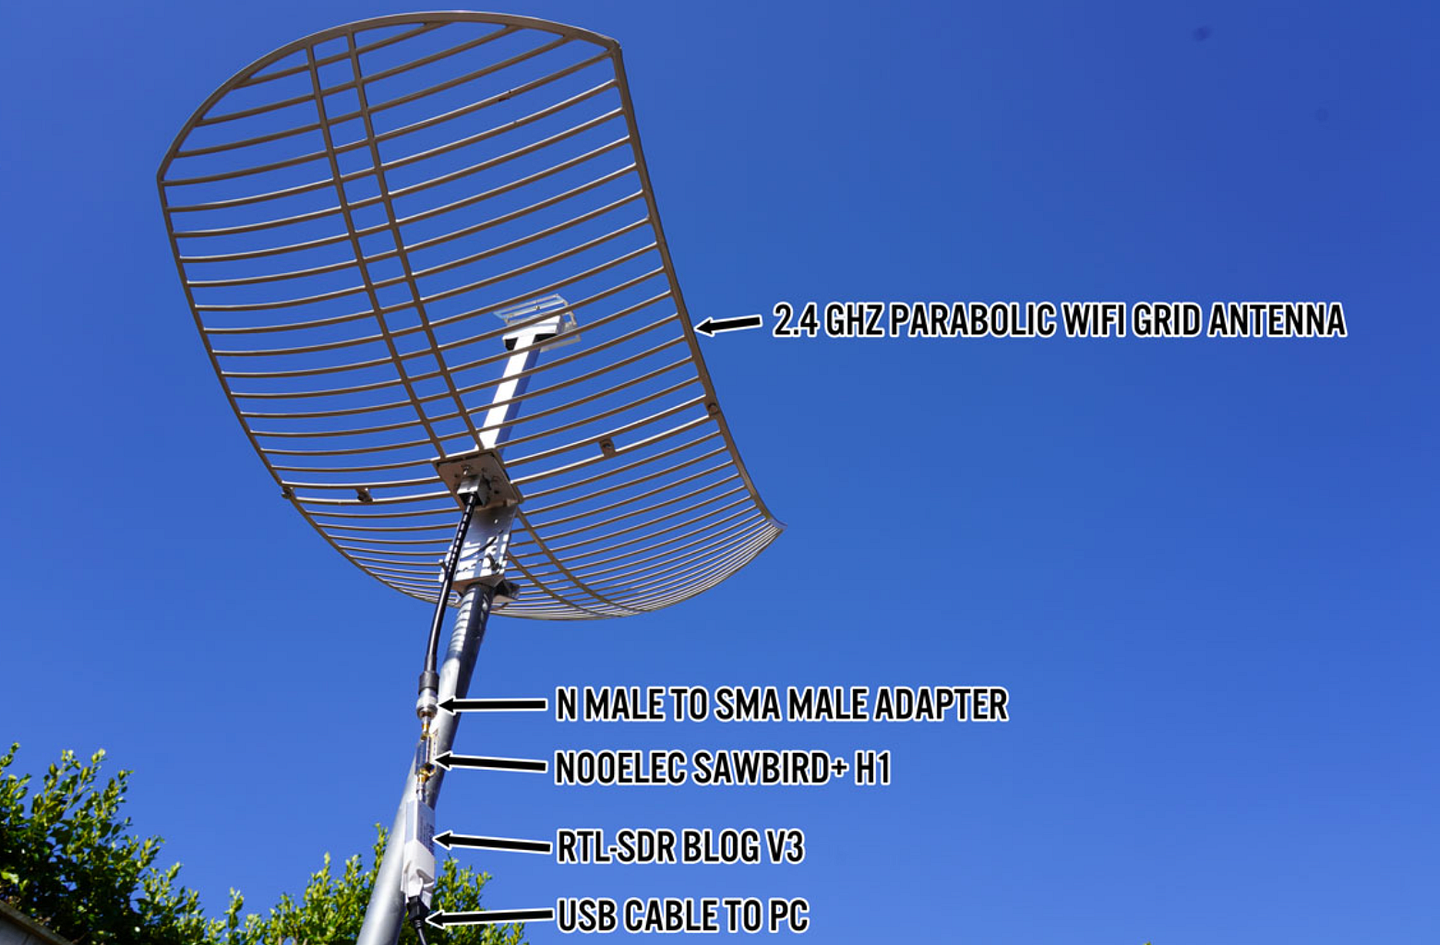
Firstly, the use of a directional antenna is a substantial upgrade. It would allow us to eliminate a large chunk of earth based noise and focus our antenna beam directly into space. We could also use star tracking software to give a more precise aiming location, giving us far more precise data.
Secondly, The signal will rise and fall according to conditions. Monitoring these conditions over a period of time will give you more precise information and a broader array of data to work with.
More Information
Detecting the hydrogen line in the wild is a reasonably simple project for beginners to start with. However from there, we can do much more with this information once we are equipped with it.
Our simple RTL based tuner has provided the first steps in setting up a simple, home based system that allows us to perform basic radio astronomy functions within our home lab. This means that we’ll be able to conduct further experiments based around radio astronomy tasks, slowly increasing in complexity.
Should this be something that interests you, you can then begin to refine your station, adding in better antennas or a more sensitive SDR unit or any other modifications needed to assist in receiving weak signals.  Directional antennas will usually give the best results. Source: RTL-SDR.com
Why SDR is the Winner
It’s easy to conduct simple experiments like this and in doing so forget why Software Defined Radio is so advantageous for these experiments. So we’ll close today’s article by touching on some of these benefits for education and experimentation purposes.
Traditionally, radio astronomy has been a complex hobby. It required expensive equipment, specialized receivers and a pool of knowledge for people to draw on. However SDR changed the dynamic of this in a number of ways. The ability to use the waterfall to detect and receive signals is one of the first big strengths, allowing for easy detection and calibration of received transmissions even for those with little experience
The RTL-SDR is also a cheap, and readily available receiver. Rather than spending hundreds on specialized equipment, many basic experiments can be conducted with this device, which can usually be obtained for as little as $20.00
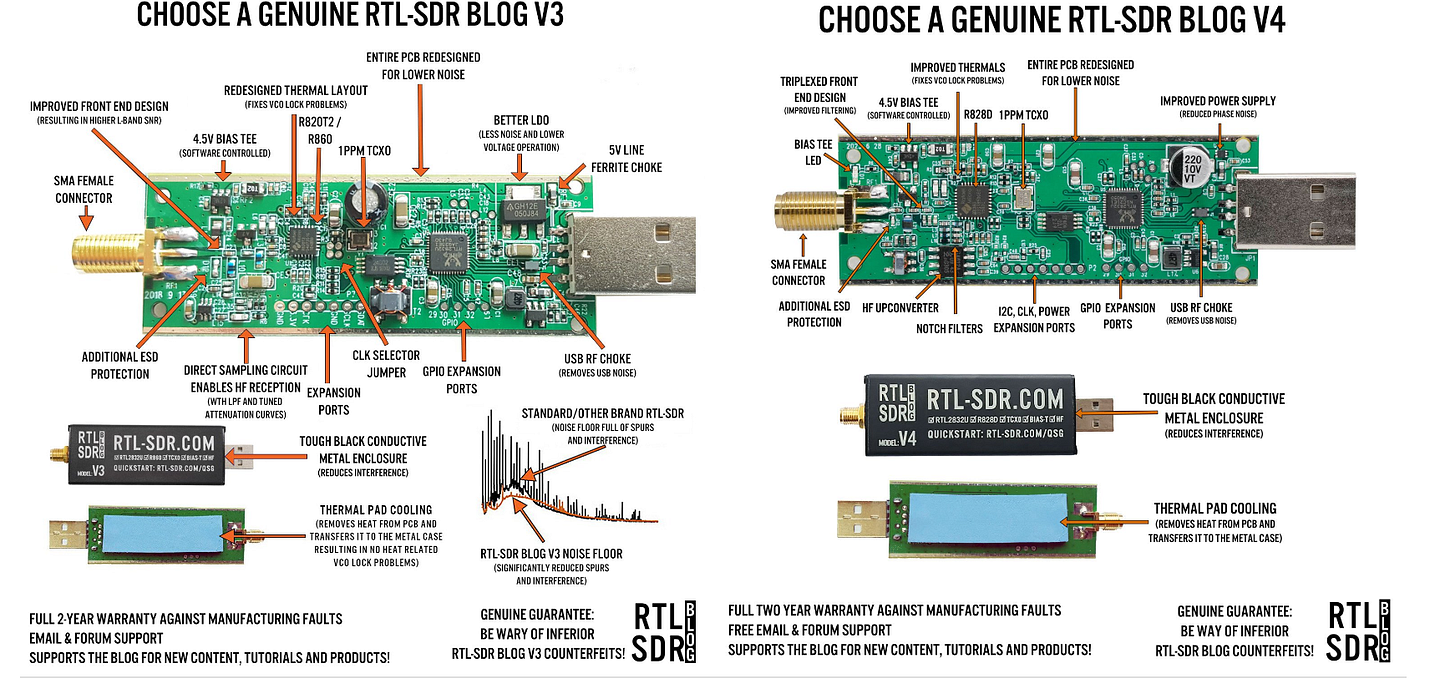
However the bright advantage of the SDR is the technological edge it brings into play. This means there’s a wide range of add ons and plugins that allow you to get the best out of your receiver. RTL-SDR comes with a number of useful features. Source:RTL-SDR.com
The last big advantage though is the ability to provide remote access. This means that a Raspberry Pi and SDR can be placed right at your antenna and accessed over an internal network. This allows for clear reception of signals, with little feed line degradation which is a huge advantage when dealing with weak signal communications.
Overall, the Raspberry Pi + RTL SDR combo provides a cheap, easy way for beginners to start exploring the radio spectrum in a way that’s engaging and reasonably simple to get started with. Give it a shot if you like!
Medium has recently made some algorithm changes to improve the discoverability of articles like this one. These changes are designed to ensure that high-quality content reaches a wider audience, and your engagement plays a crucial role in making that happen.
If you found this article insightful, informative, or entertaining, we kindly encourage you to show your support. Clapping for this article not only lets the author know that their work is appreciated but also helps boost its visibility to others who might benefit from it.
🌟 Enjoyed this article? Support our work and join the community! 🌟
💙 Support me on Ko-fi: Investigator515
📢 Join our Telegram channel for exclusive updates or.
🐦 Follow us on Twitter and
🟦 We’re now on Bluesky!
🔗 Articles we think you’ll like:
- Software Defined Radio & Radio Hacking
- OSINT Unleashed: 5 Essential Tools for Cyber Investigators
✉️ Want more content like this? Sign up for email updates here


