How to successfully setup incentivized Namada Shielded Expedition (SE) Node

In this article, I will guide you to They have already selected >10k Pilots and >100k Crew for this testnet. If you are not selected then you might want to skip this one.
Introduction to Namada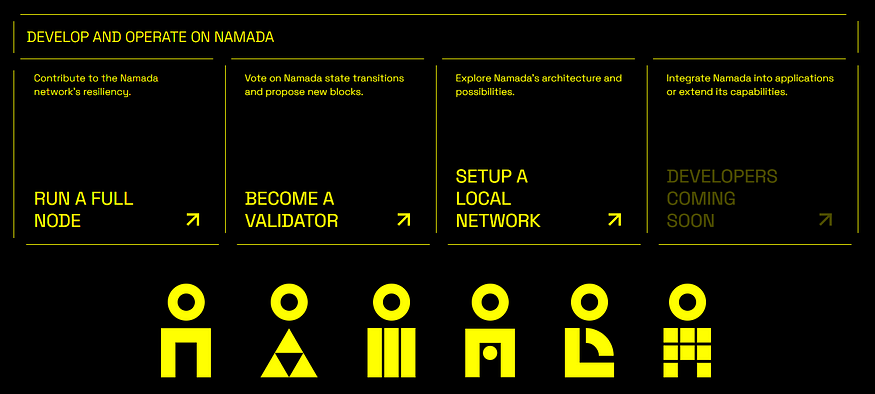 Namada is a privacy-for-assets centric blockchain using zero-knowledge proof technology. Namada’s cryptographical features give users asset-agnostic, interchain privacy, and is being built by the Anoma foundation.
Key Innovations:
- Zcash-like transfers for any assets (fungible and non-fungible)
- Rewarded usage of privacy as a public good
- Interoperability with Ethereum via a custom bridge with trust-minimization
Hardware Requirements for Validator:
RAM: 16 GB
CPU Cores: 4
SSD Storage: 1 TB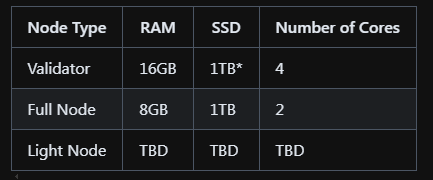 Buy VPS:
The system specification requirement for running this node is not very high. You can go ahead with minimum plan available with VPS provider. For reference, I am using Contabo here but you can go with others like VPSDime. If you want to pay by Crypto use PQ.Hosting.
Select VPS 3 plan with Docker App pre-installed on Ubuntu 22.04 in Contabo. Don’t forget to save the Password.
 Wait for the emaill for IP address before proceeding to next step.
Connect to VPS:
- Install Putty: https://the.earth.li/~sgtatham/putty/latest/w64/putty.exe
- Open Putty and add IP address then click Open:
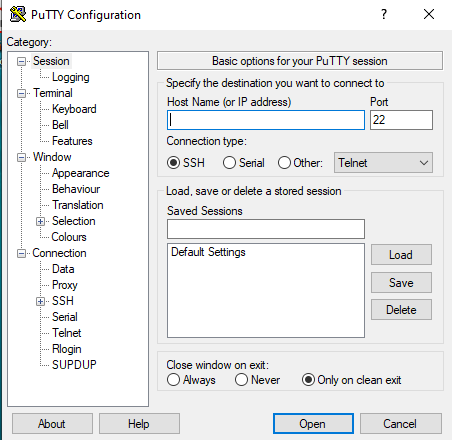
- Login as: root
- Paste VPS password saved while buying VPS (right click to paste in Putty)
Download CometBFT
mkdir -p $HOME/.local/bin
curl -sL https://github.com/cometbft/cometbft/releases/download/v0.37.2/cometbft_0.37.2_linux_amd64.tar.gz | tar -C $HOME/.local/bin -xzf- cometbft
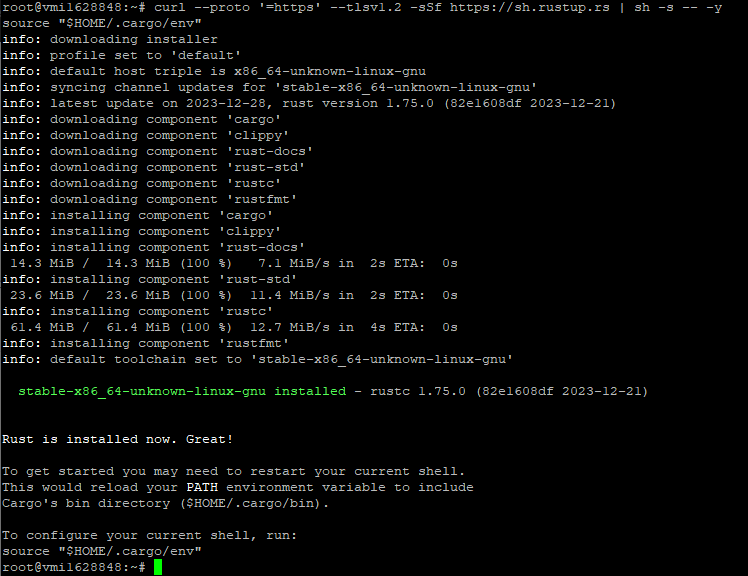
 Install Rust
curl --proto '=https' --tlsv1.2 -sSf https://sh.rustup.rs | sh -s -- -y
source "$HOME/.cargo/env"
 Build Tools
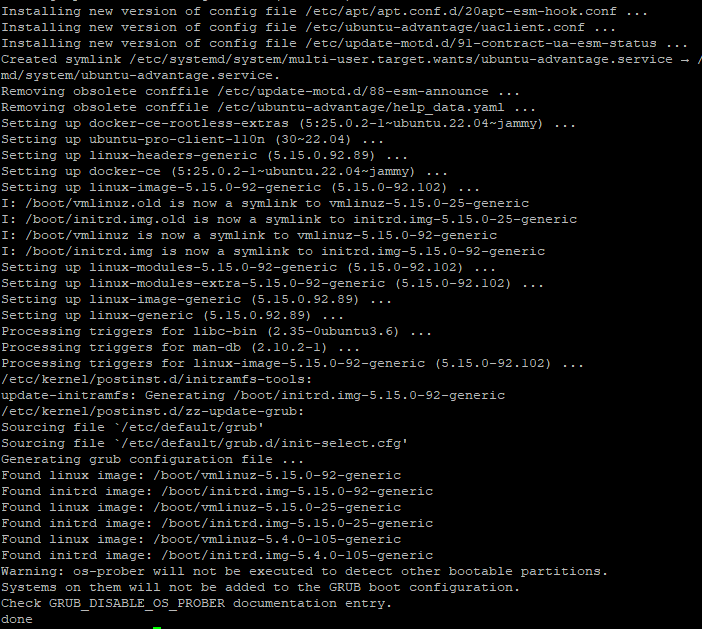
sudo apt -q update
sudo apt -qy install make git-core libssl-dev pkg-config libclang-12-dev libudev-dev build-essential protobuf-compiler
sudo apt -qy upgrade
 Build Namada Service
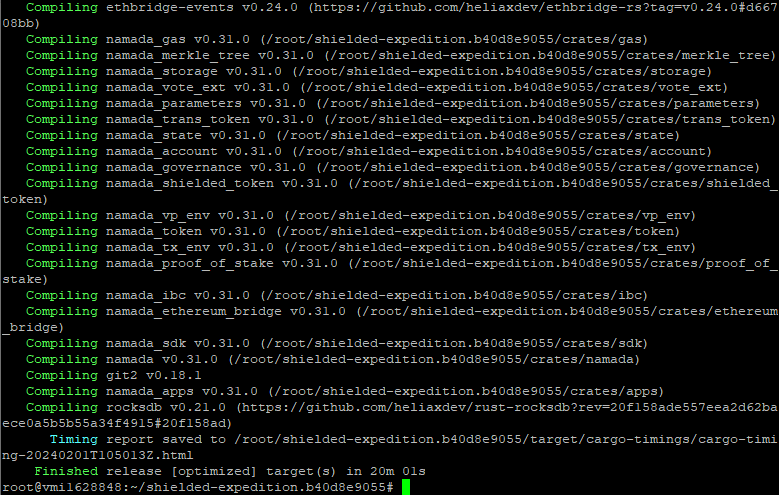
cd $HOME
rm -rf shielded-expedition.b40d8e9055
git clone -b v0.31.0 https://github.com/anoma/namada.git shielded-expedition.b40d8e9055
cd shielded-expedition.b40d8e9055
make build-release
for BIN in namada namadac namadan namadar namadaw; do install -m 0755 target/release/$BIN $HOME/.local/bin/$BIN; done
 Create SystemD Service
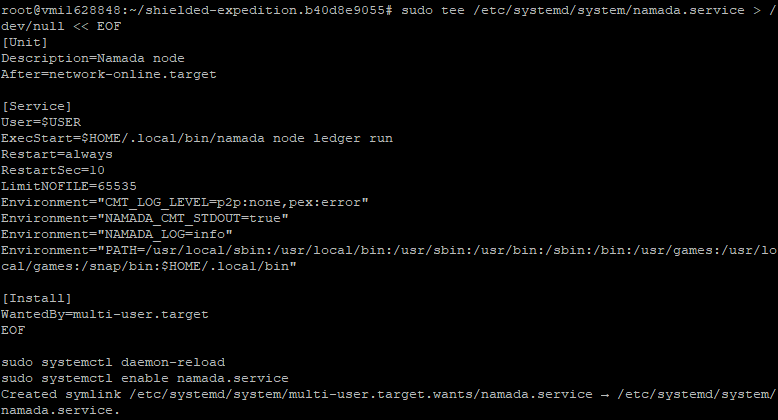
sudo tee /etc/systemd/system/namada.service > /dev/null << EOF
[Unit]
Description=Namada node
After=network-online.target

[Service]
User=$USER
ExecStart=$HOME/.local/bin/namada node ledger run
Restart=always
RestartSec=10
LimitNOFILE=65535
Environment="CMT_LOG_LEVEL=p2p:none,pex:error"
Environment="NAMADA_CMT_STDOUT=true"
Environment="NAMADA_LOG=info"
Environment="PATH=/usr/local/sbin:/usr/local/bin:/usr/sbin:/usr/bin:/sbin:/bin:/usr/games:/usr/local/games:/snap/bin:$HOME/.local/bin"

[Install]
WantedBy=multi-user.target
EOF

sudo systemctl daemon-reload
sudo systemctl enable namada.service
 Initialize the Node
export PATH=$HOME/.local/bin:$PATH
namada client utils join-network --chain-id shielded-expedition.b40d8e9055 # --genesis-validator bengt
export CUSTOM_PORT=266
sed -i \
-e "s|^proxy_app = \"tcp://127.0.0.1:26658\"|proxy_app = \"tcp://127.0.0.1:${CUSTOM_PORT}58\"|" \
-e "s|^laddr = \"tcp://127.0.0.1:26657\"|laddr = \"tcp://127.0.0.1:${CUSTOM_PORT}57\"|" \
-e "s|^laddr = \"tcp://0.0.0.0:26656\"|laddr = \"tcp://0.0.0.0:${CUSTOM_PORT}56\"|" \
-e "s|^prometheus_listen_addr = \":26660\"|prometheus_listen_addr = \":${CUSTOM_PORT}66\"|" \
$HOME/.local/share/namada/shielded-expedition.b40d8e9055/config.toml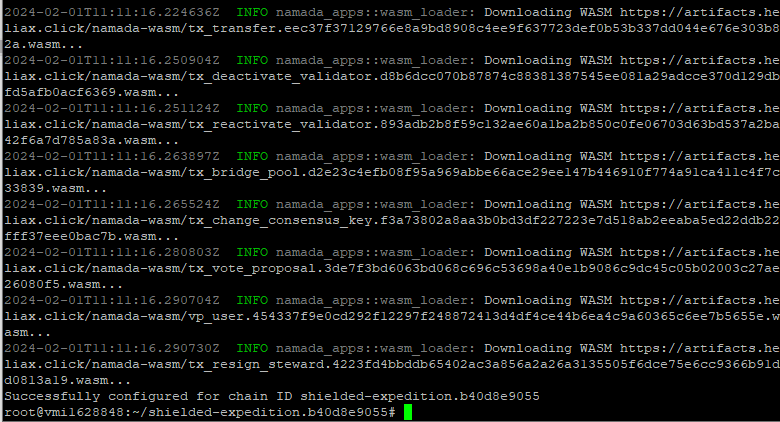 Start Service and Logs
sudo systemctl start namada.service && sudo journalctl -u namada.service -f --no-hostname -o cat
 Now wait till chain becomes active.
I will update the post on the go.
References
- https://docs.namada.net/
- https://services.kjnodes.com/testnet/namada/installation/
- https://www.theamsolutions.info/namada