1 Million Polyhedra Network Tokens Airdrop!
Polyhedra Task Tutorial on Binance Web3 Wallet
Task Description
Task 1: Transfer any amount of BNB, USDT, or ETH through any direction on zkBridge.
Task 2: Transfer any NFT through any direction on zkBridge.
Guideline to Task 1: Token Transfer:
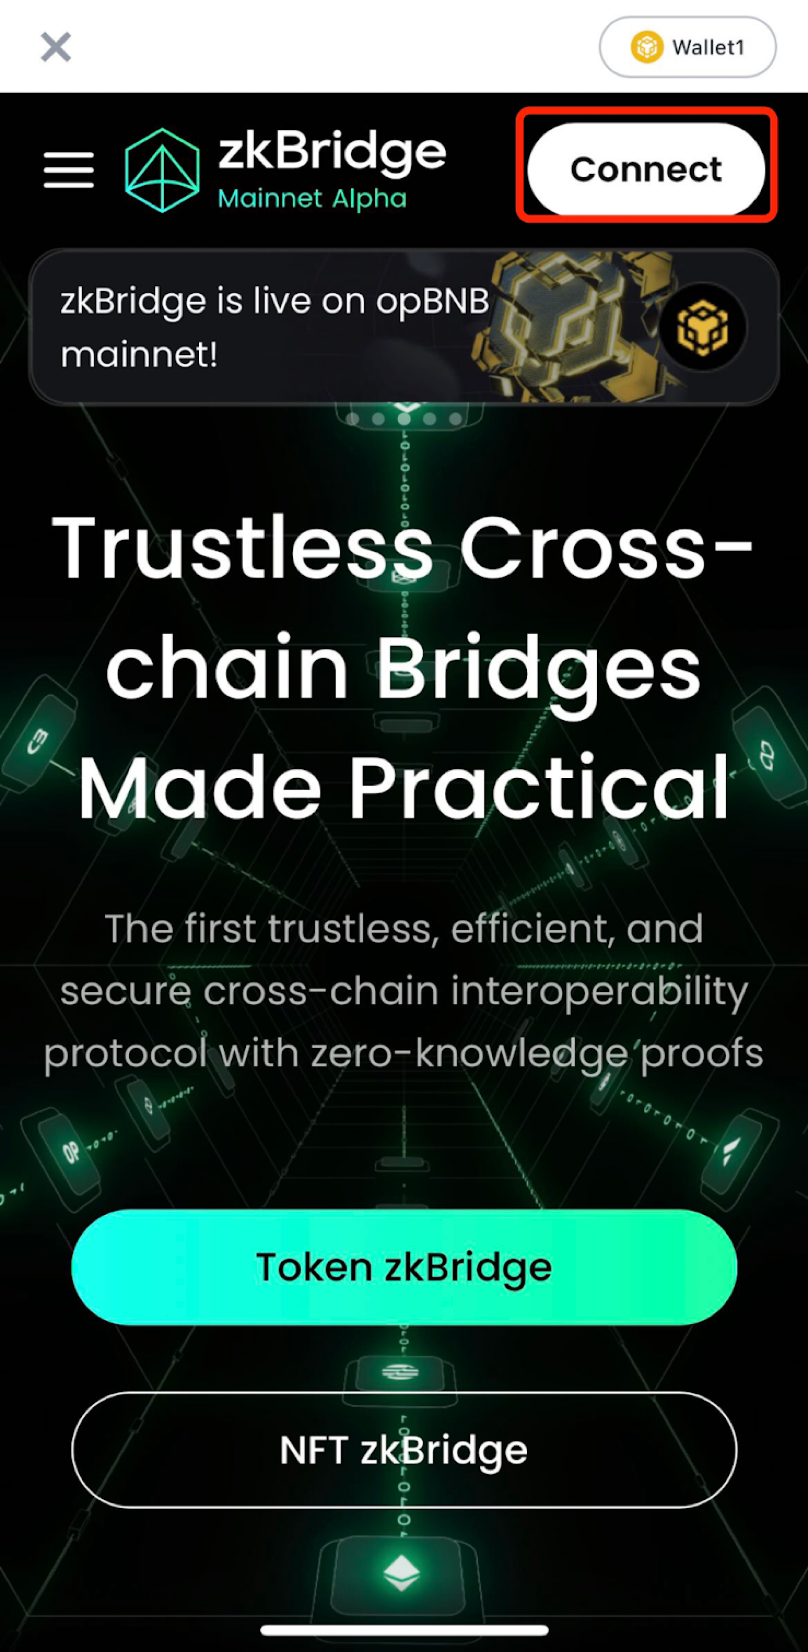
1. Navigate to zkBridge in Binance Web3 Wallet.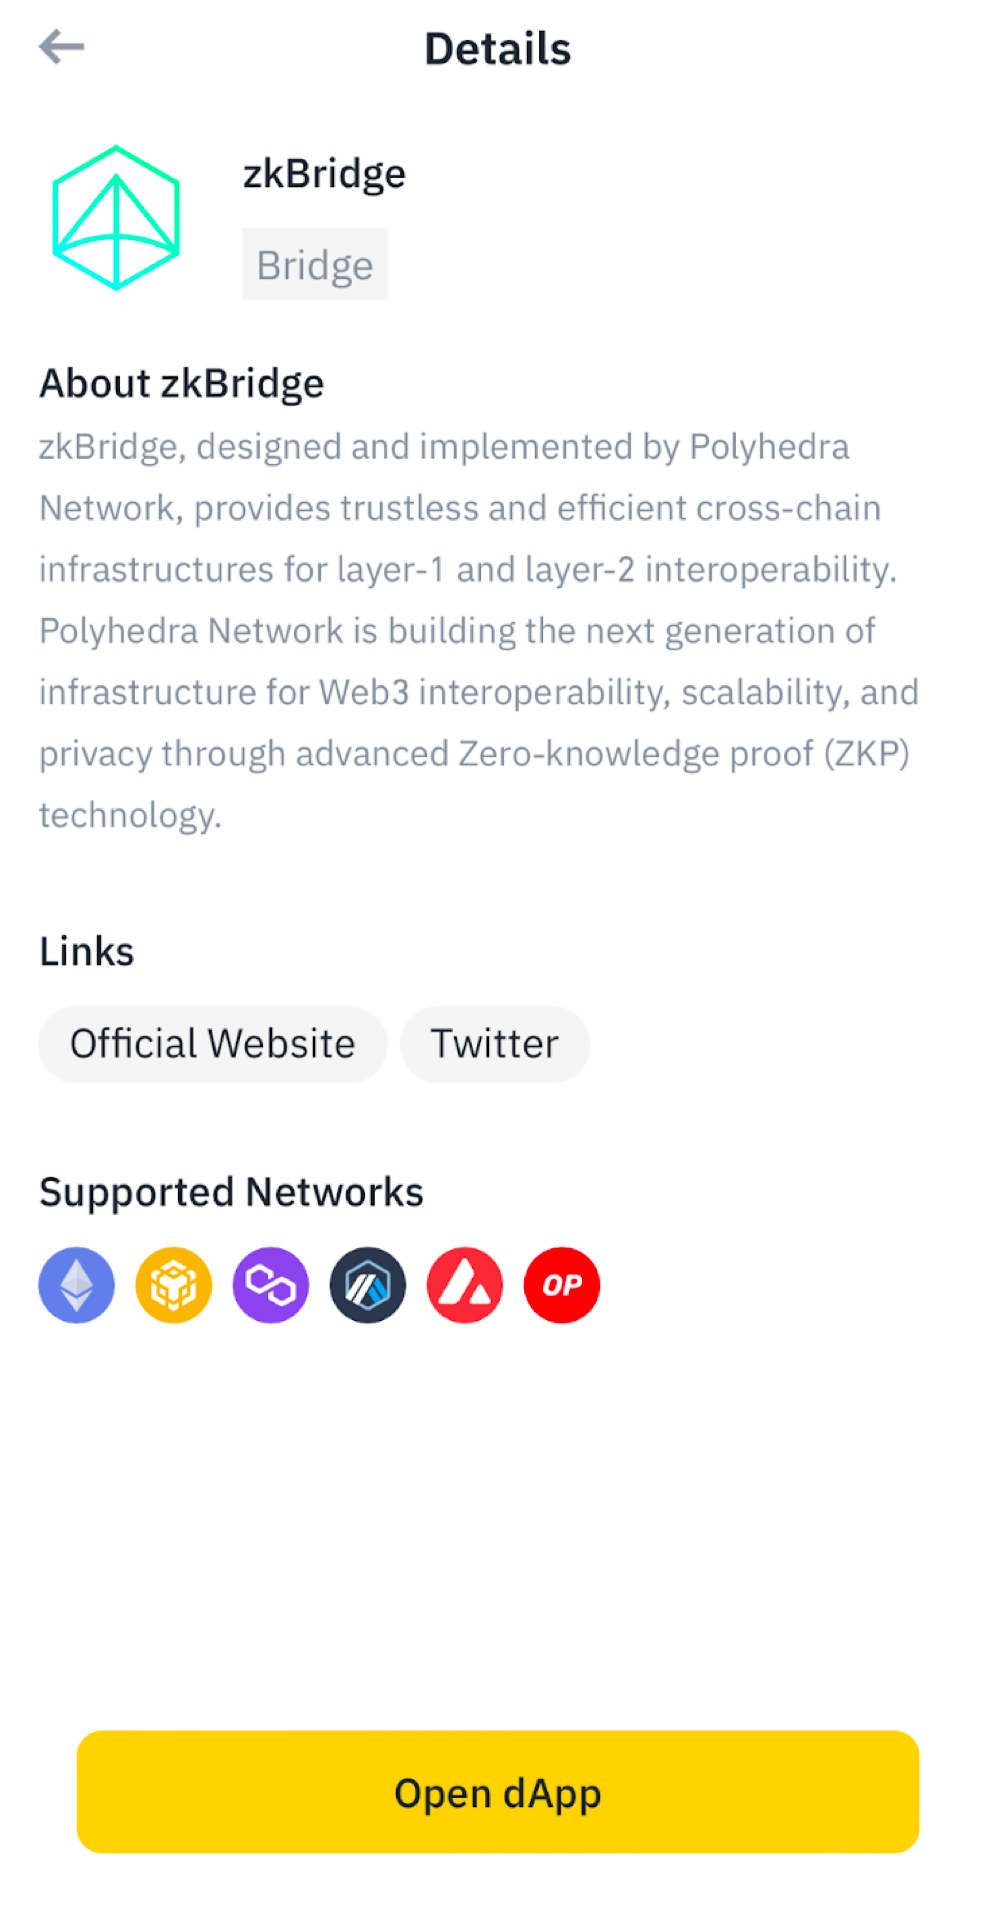 2. Connect to Binance Web3 Wallet
- Click on the upper-right button labeled “Connect”
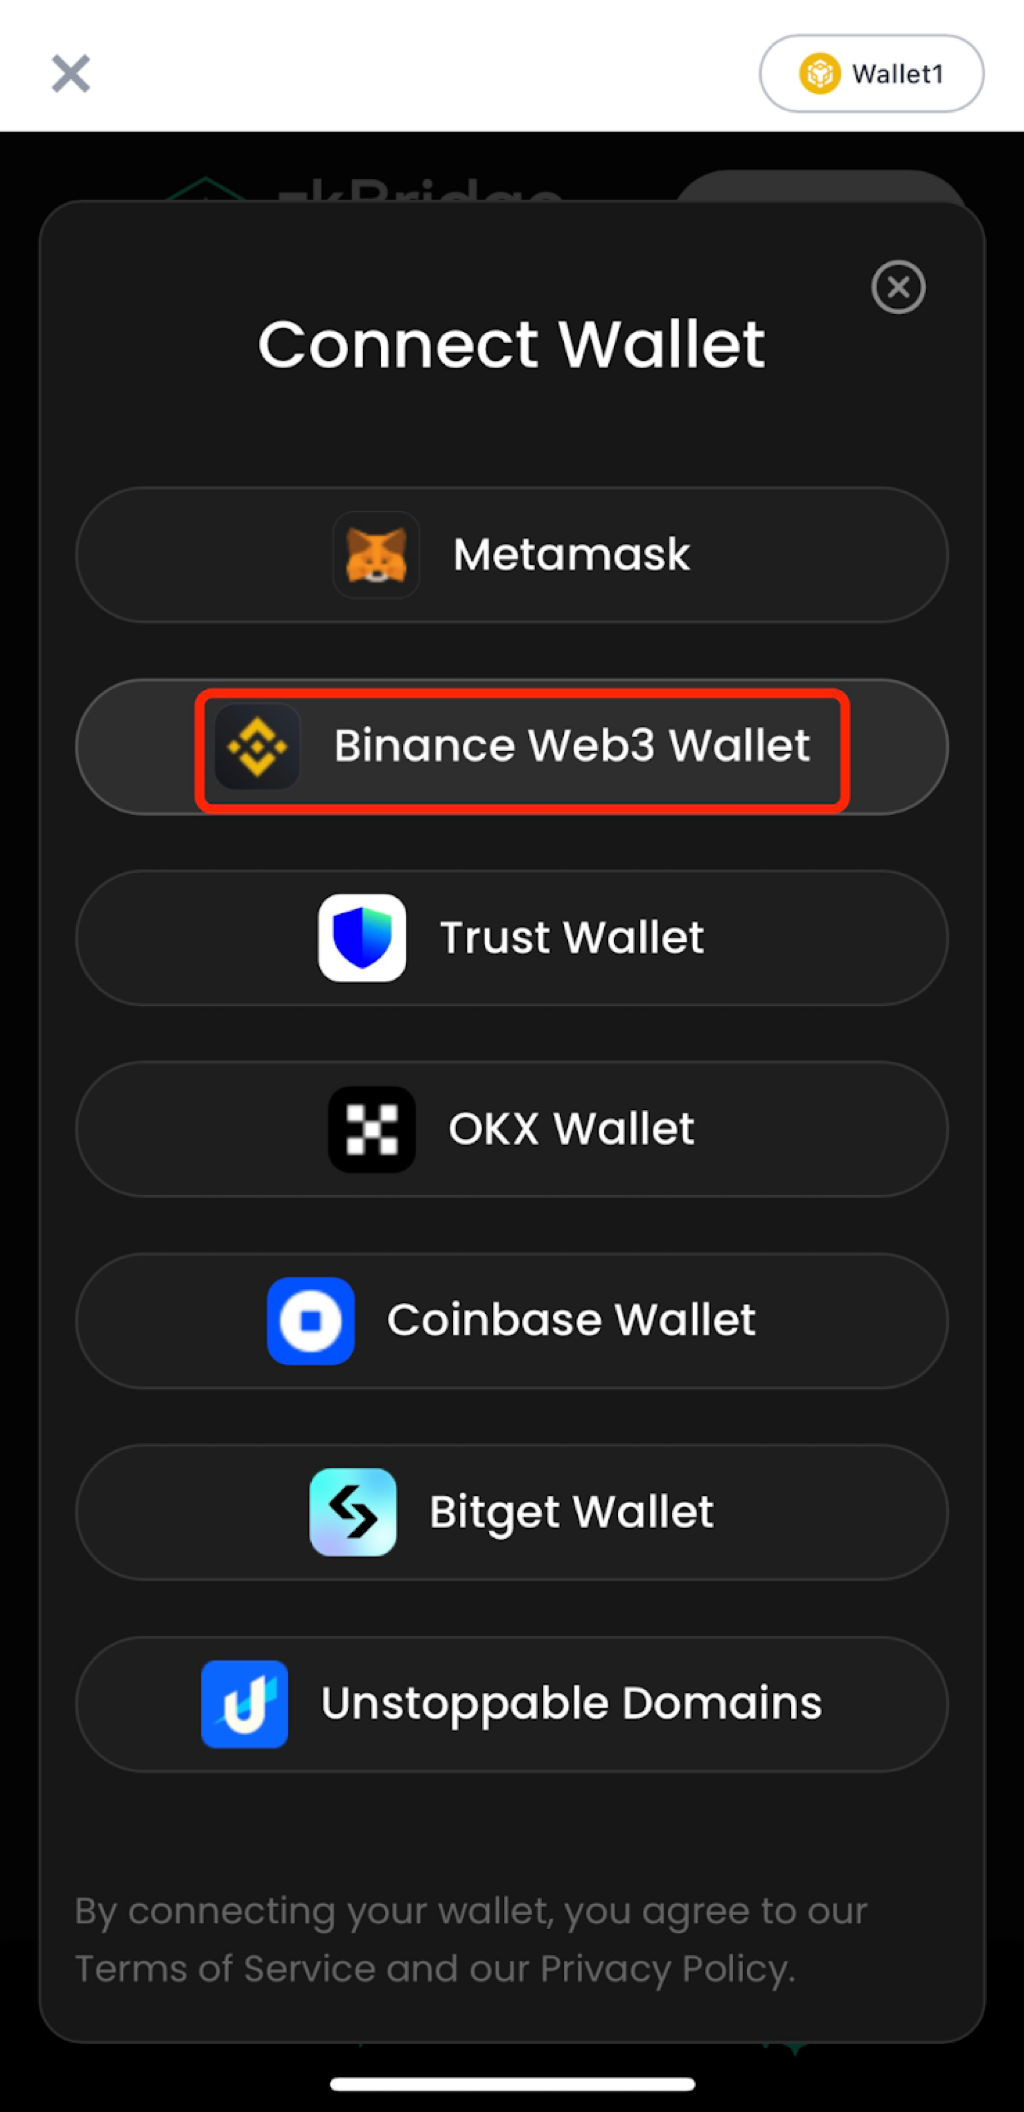
- Choose “Binance Web3 Wallet”
- Sign the connection on your wallet
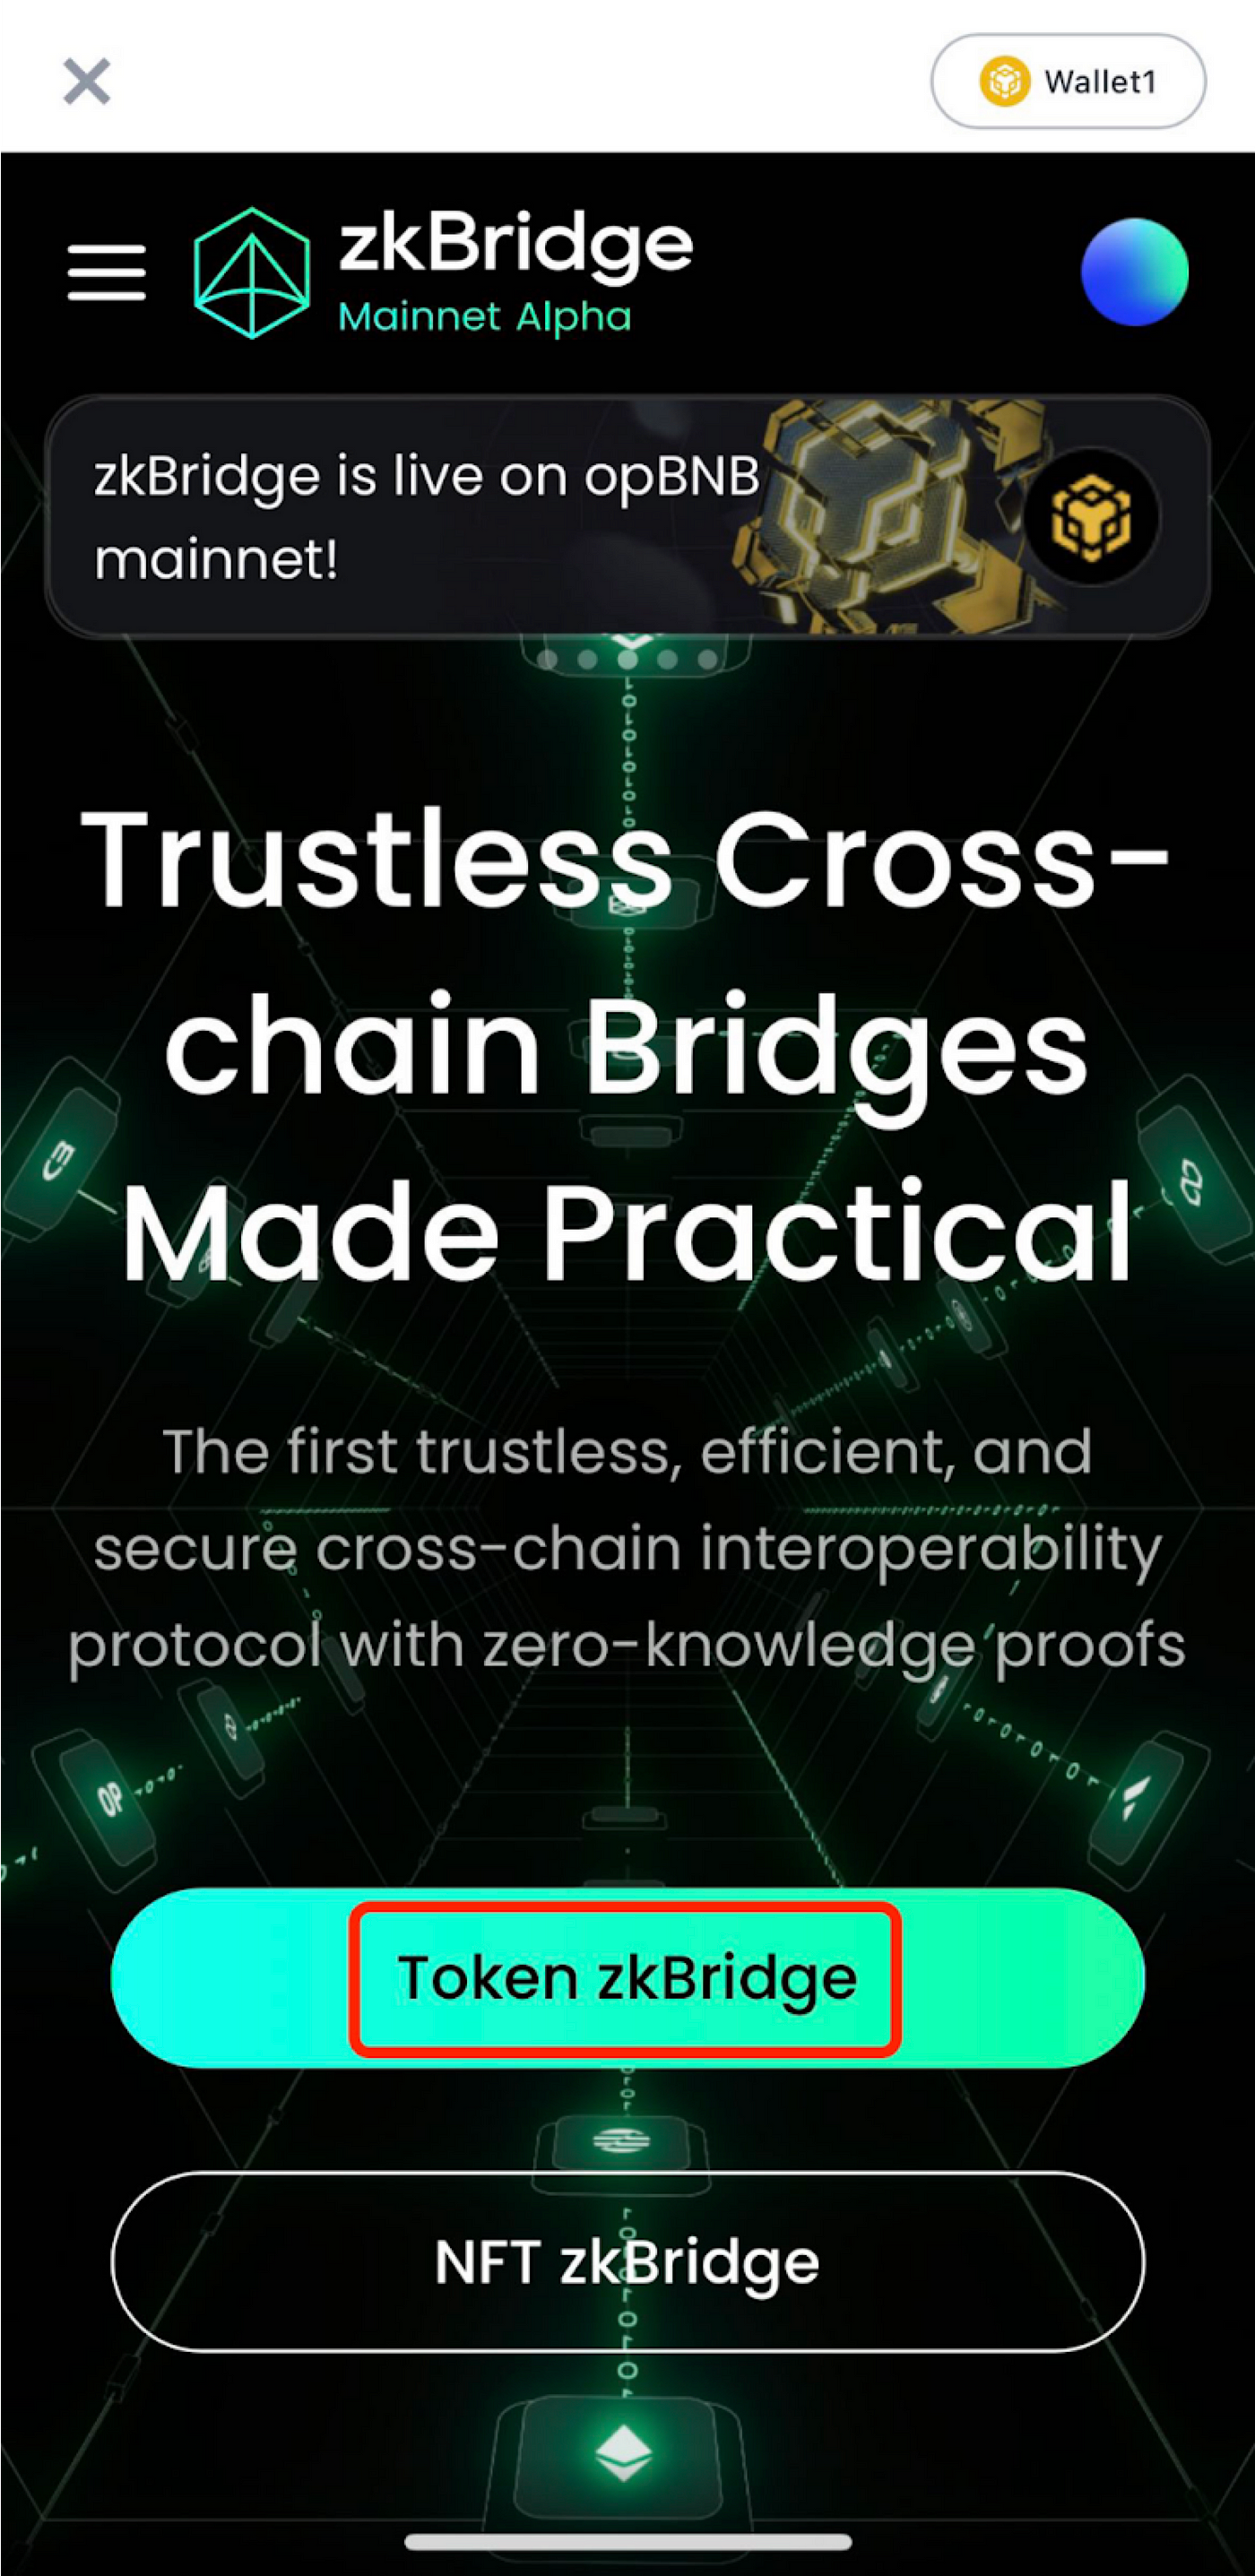
 3. Click “Token zkBridge” to transfer BNB/USDT/ETH.
 4. Select the token you want to cross-chain by clicking “>”. “From” indicates your sender chain, and “To” represents the receiver chain. You can choose the direction you need. Make sure the receiver network is currently supported by your web3 wallet so you can easily access the token later.
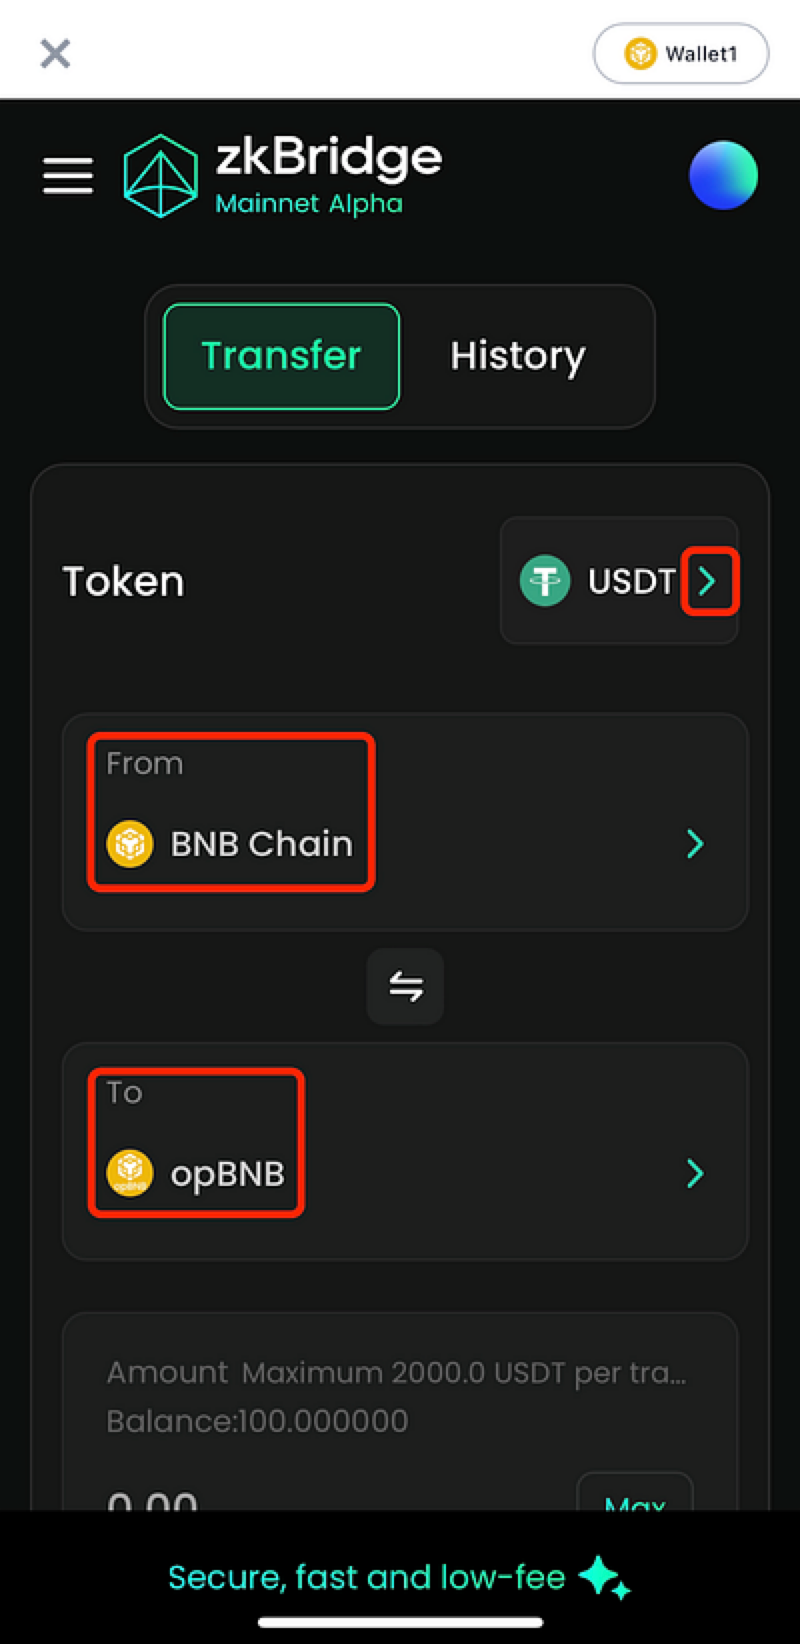 5. Input the amount of tokens you would like to transfer and approve the token(for non-native tokens). Double-check your recipient address before you make the transfer. The default address is your connected Web 3 wallet address. This means that your token will stay in your Web 3 wallet, however under a different network.
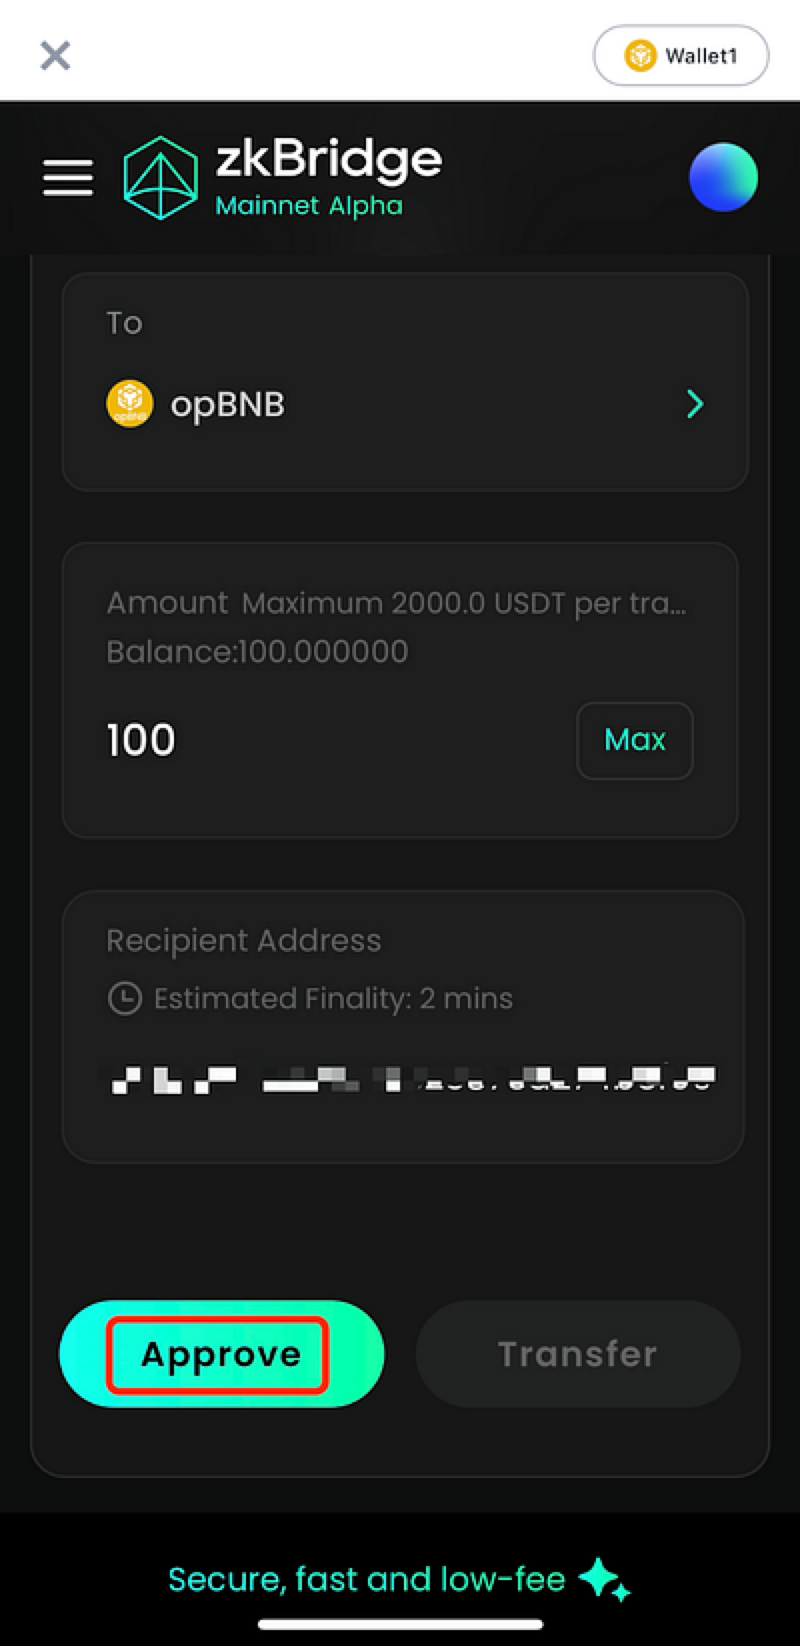
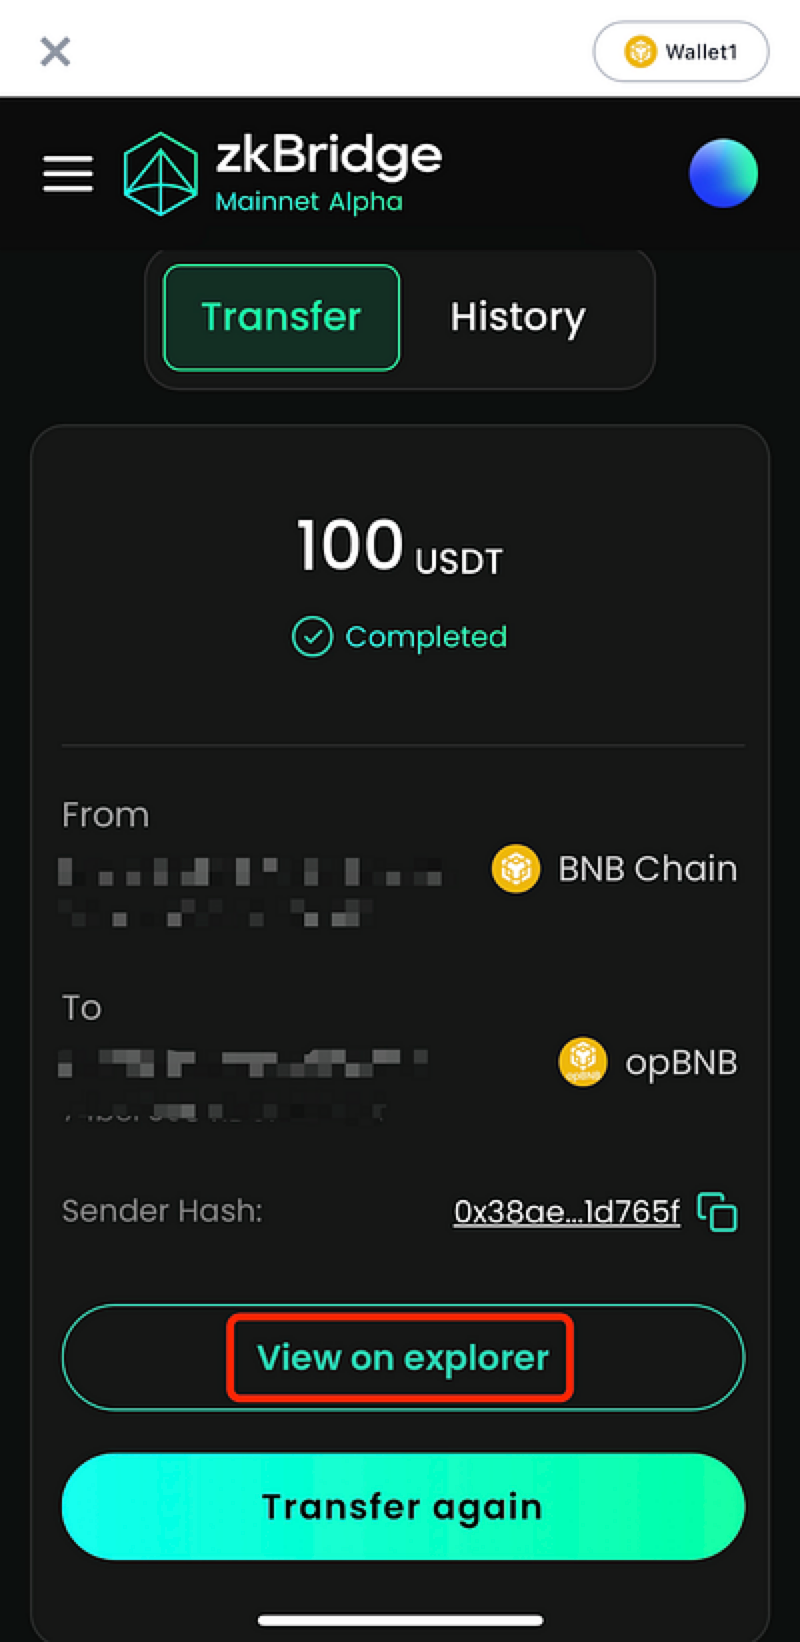
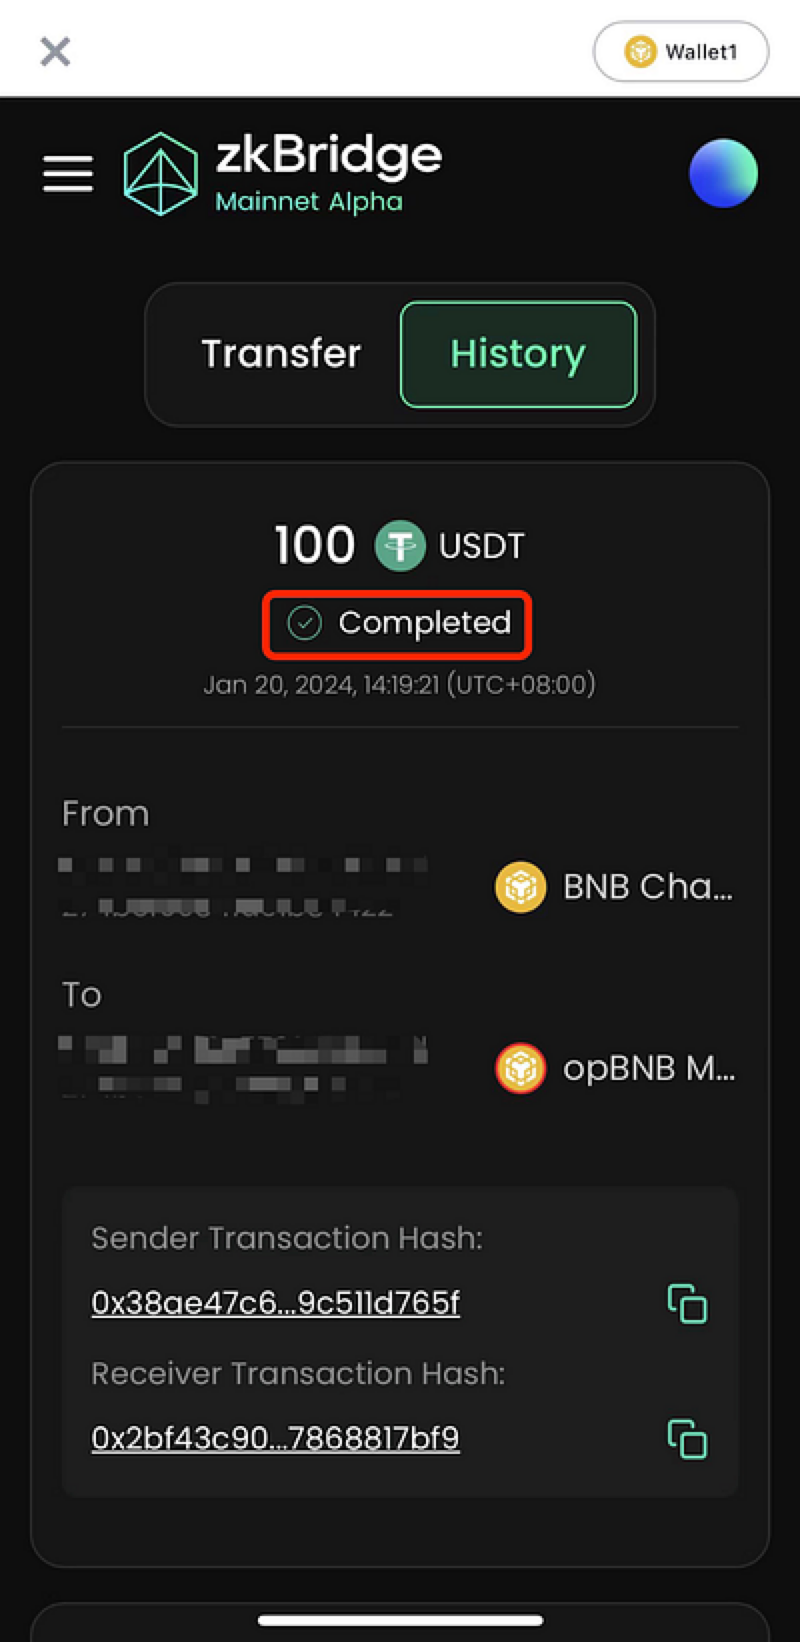
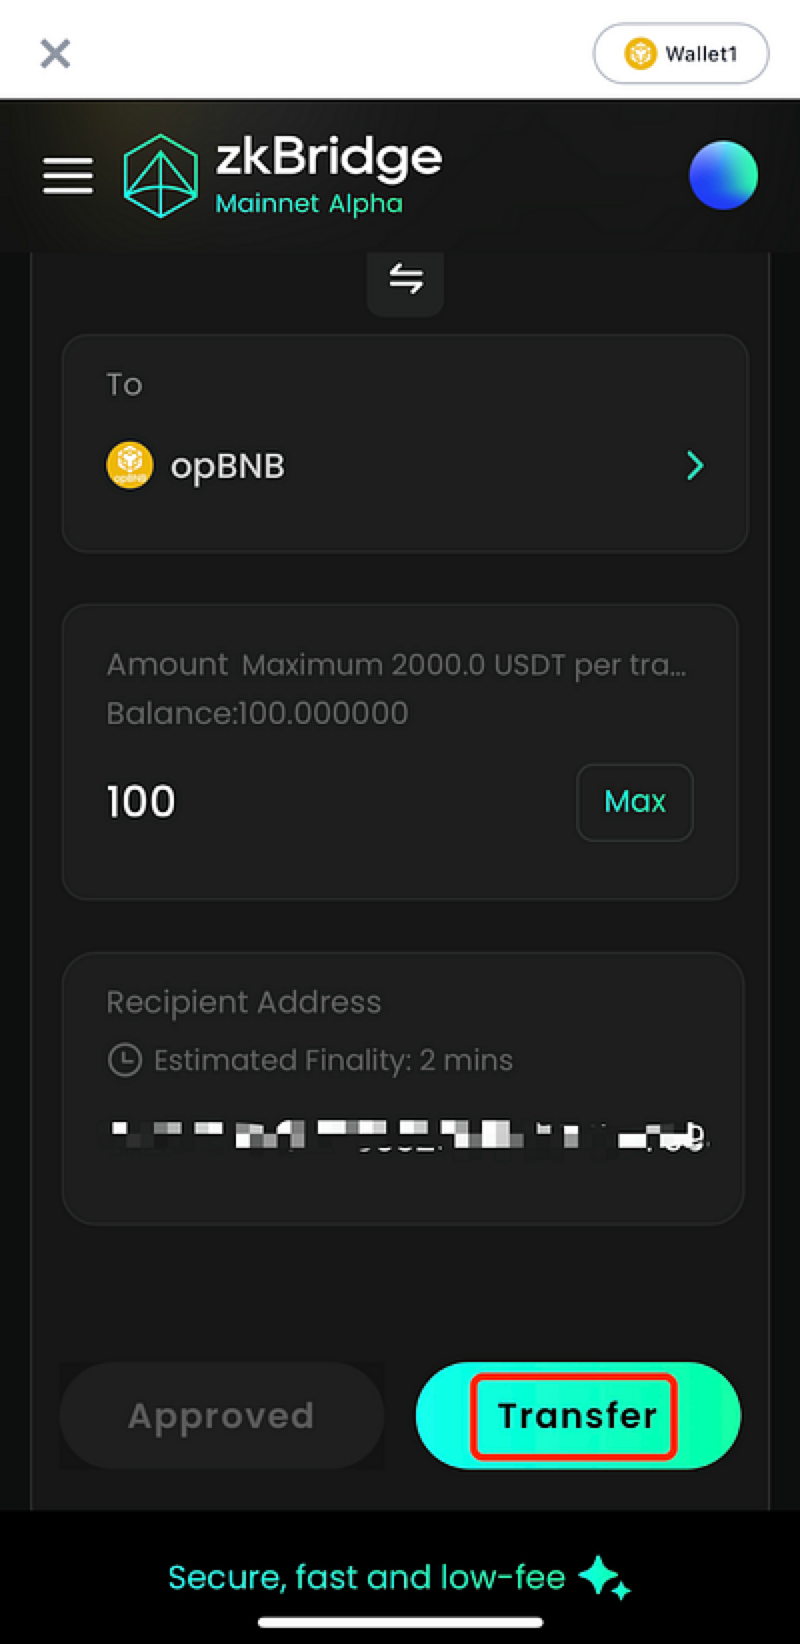 6. When the transaction is confirmed on the sender chain, you can view it on the explorer. Select “History” to view all Token zkBridge transaction history. The status “Completed” means your assets have been delivered on the receiver chain.
Guideline to Task 2: NFT Transfer:
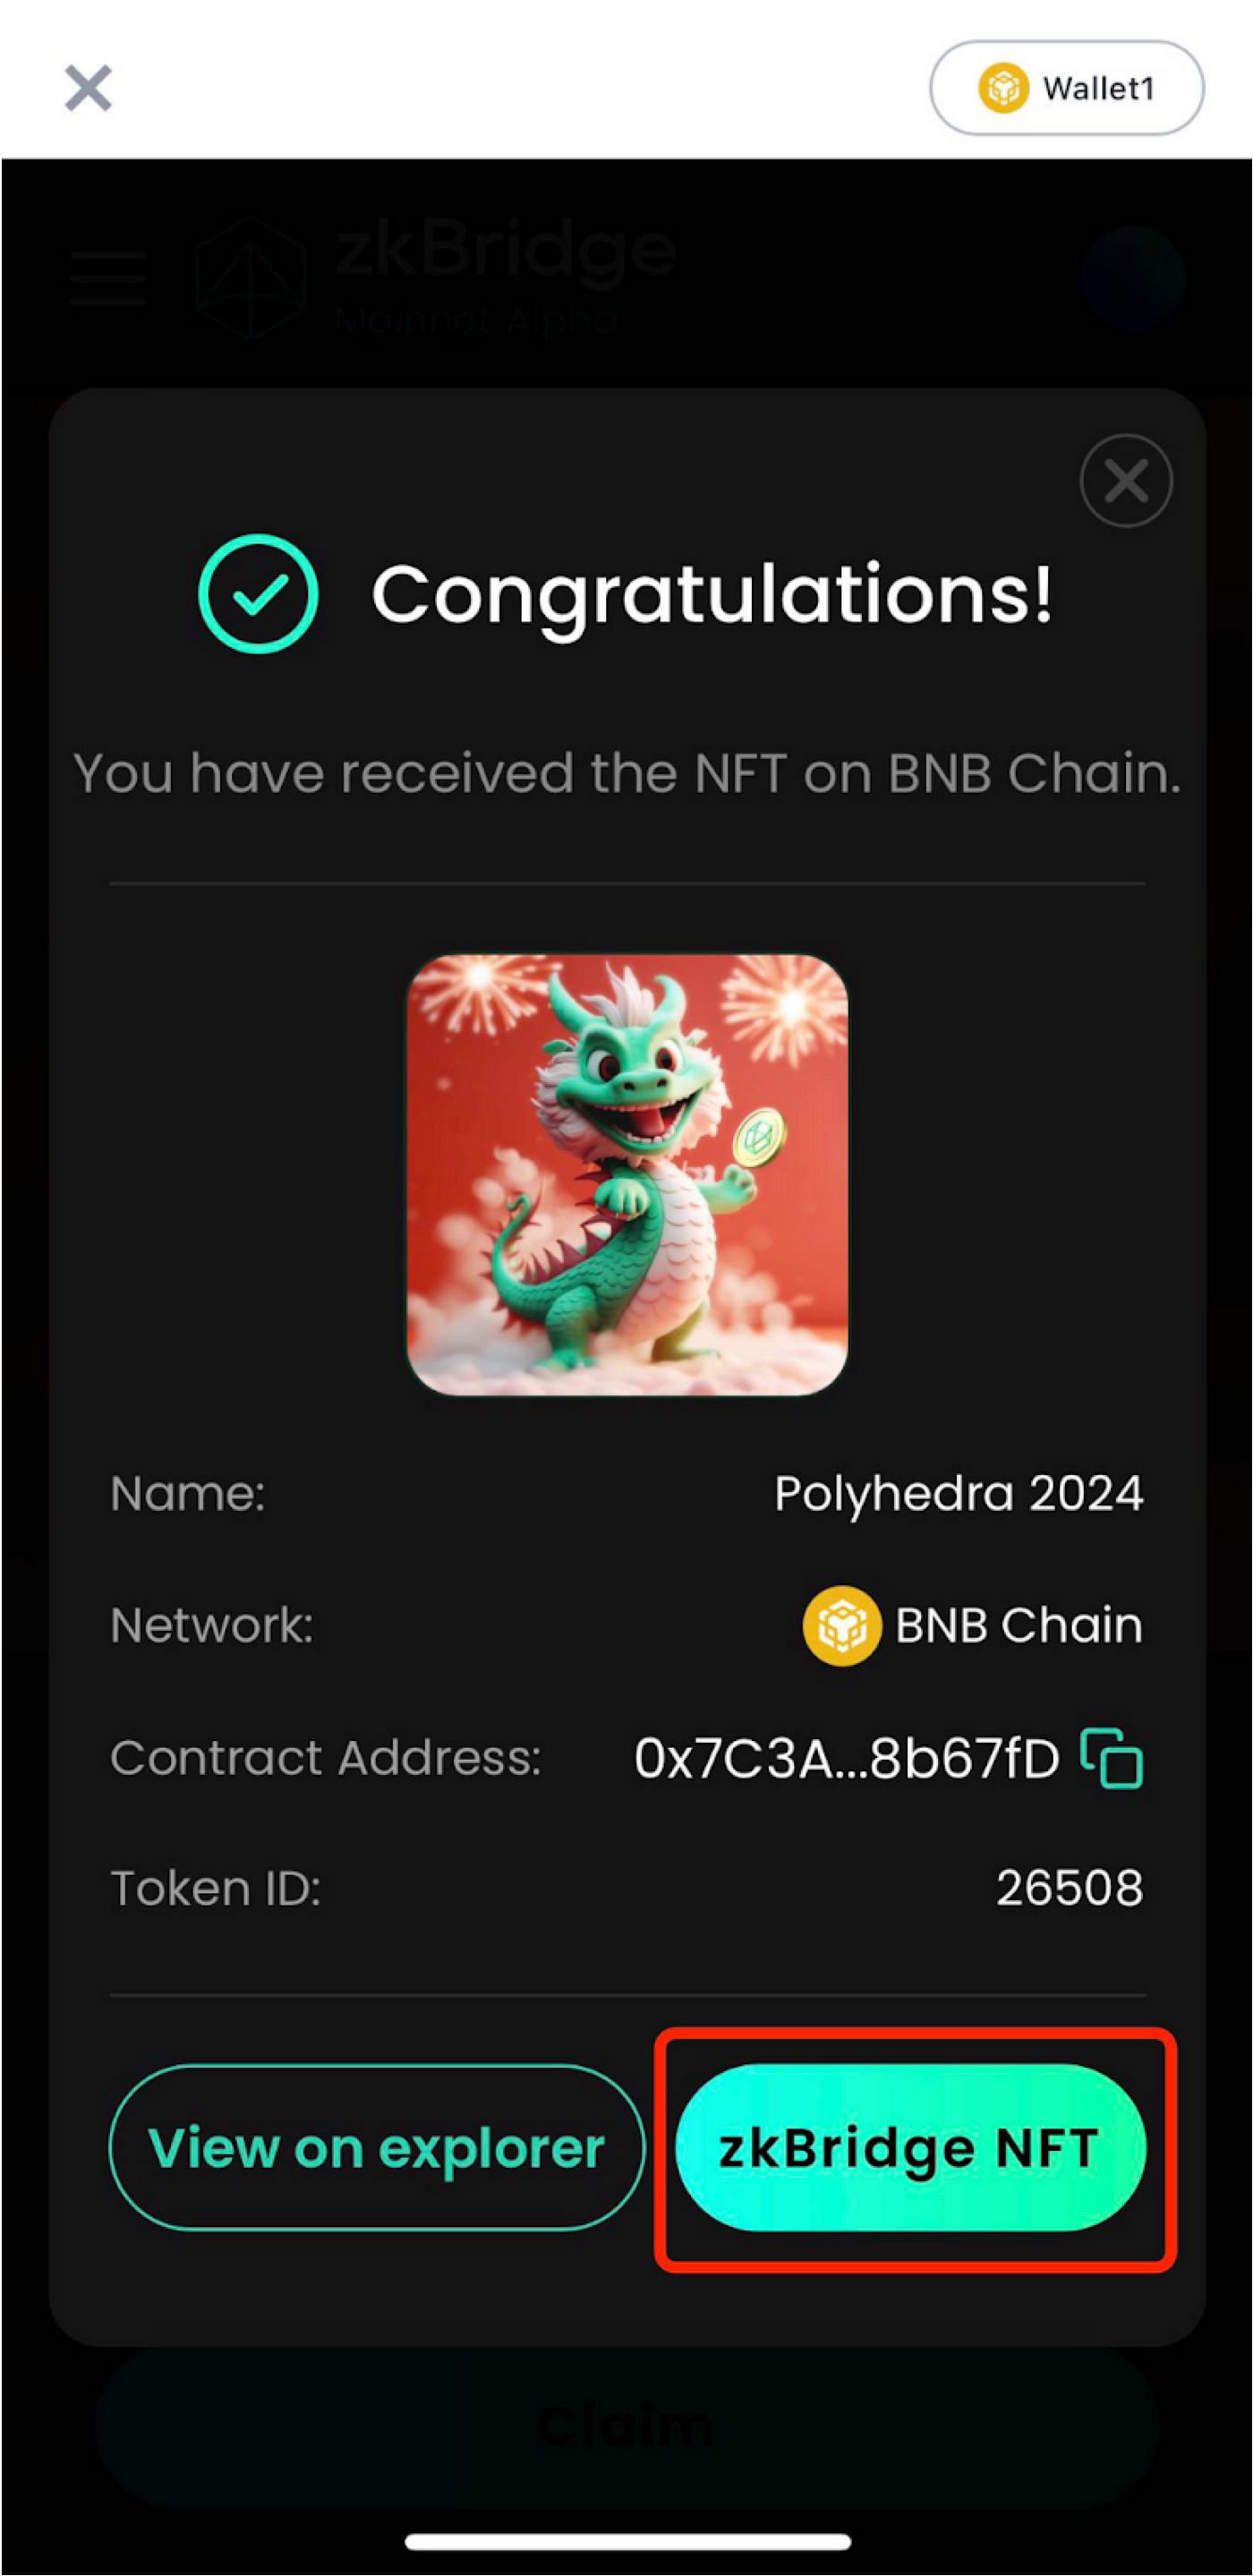
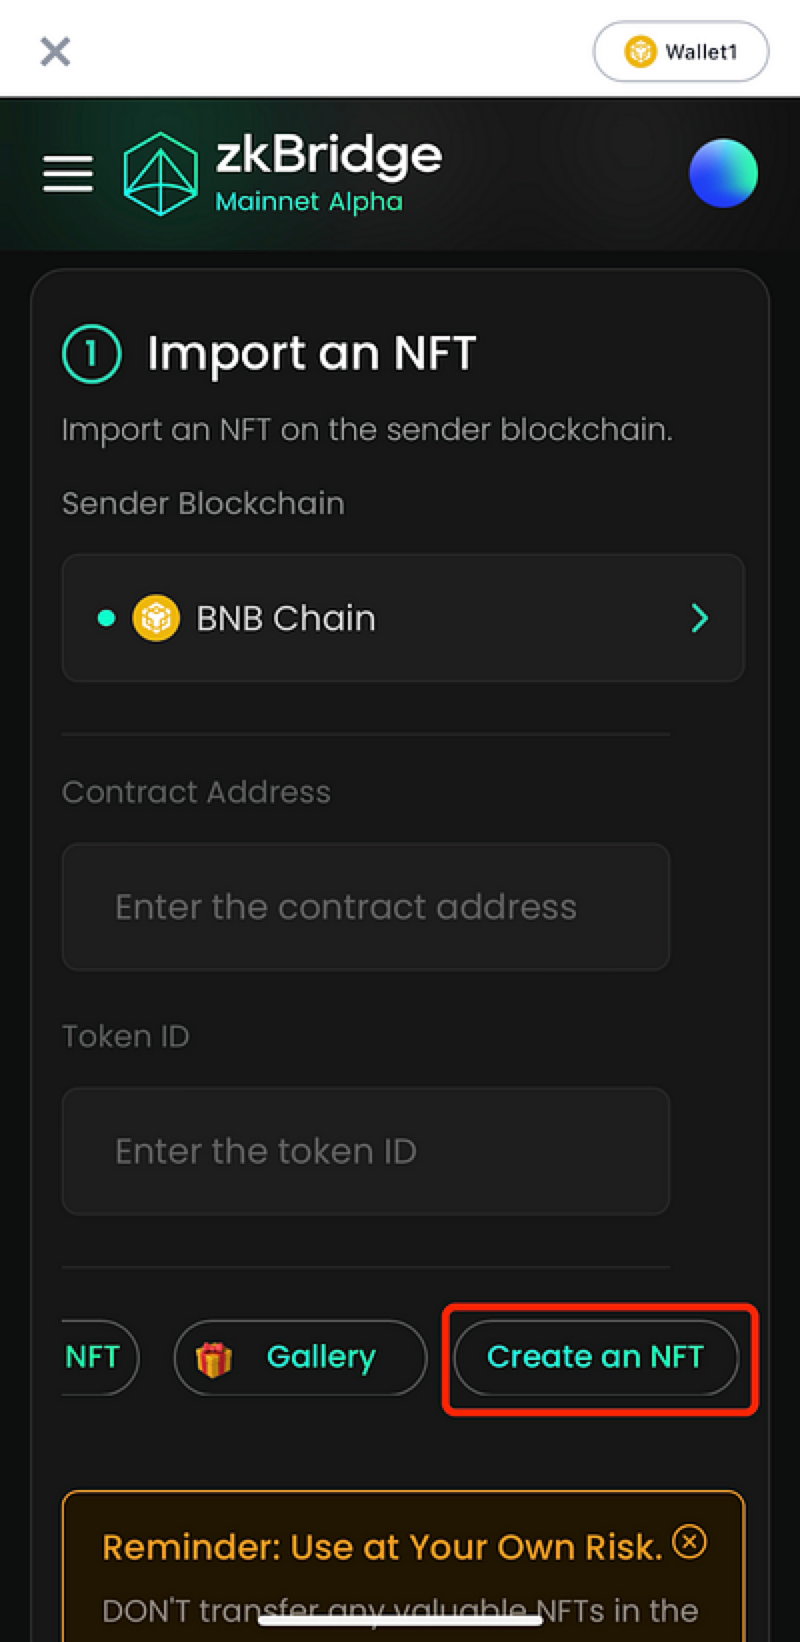
1. Navigate to the NFT page by clicking the NFT link in the top menu, or go to https://zkbridge.com/zknft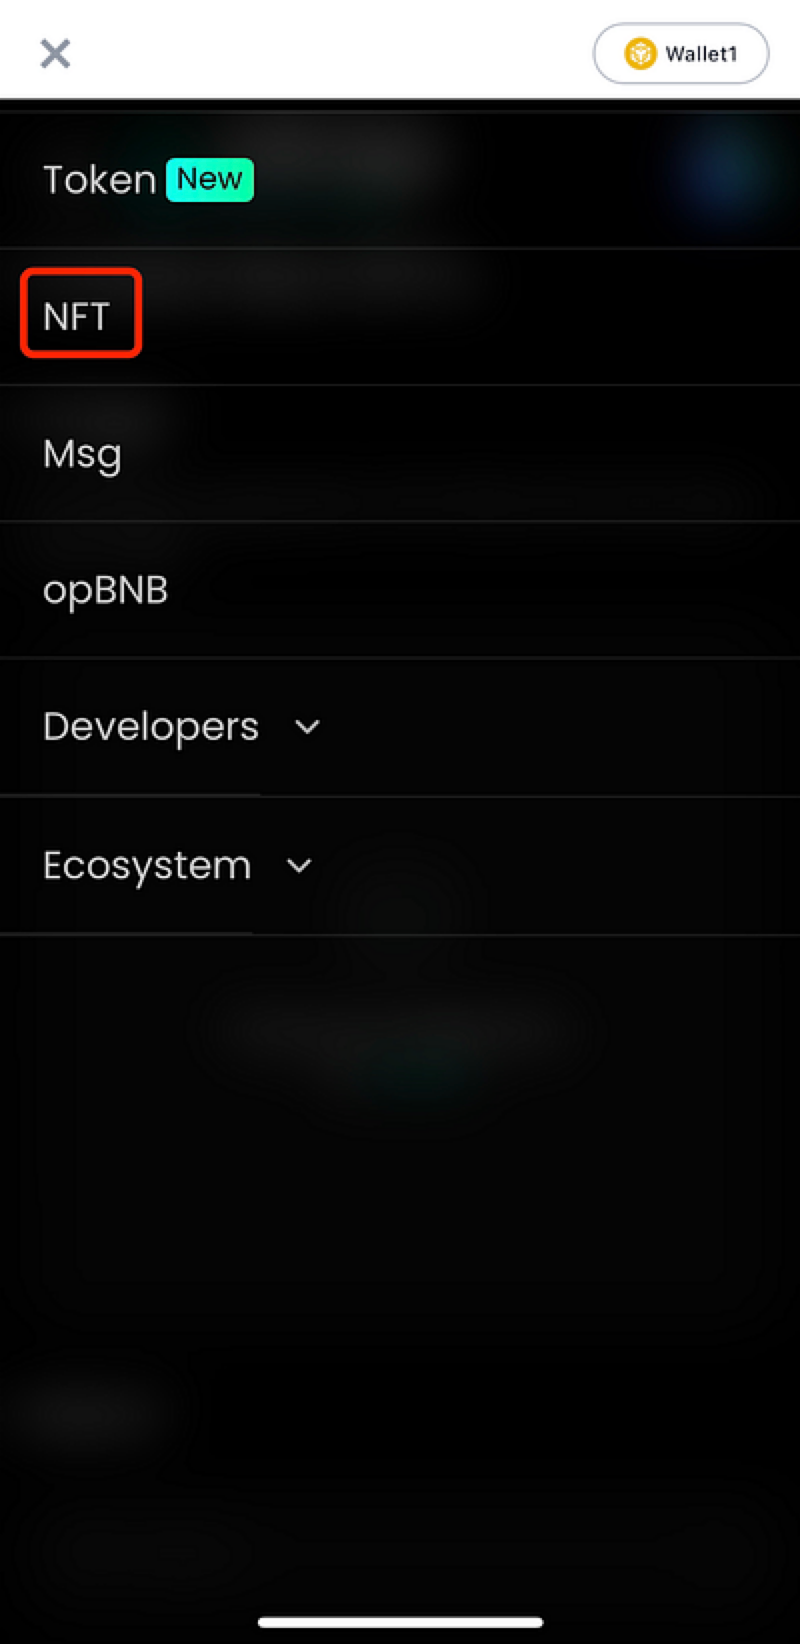 2. If you don’t have any NFT yet, you may choose to claim the Polyhedra 2024 NFT.
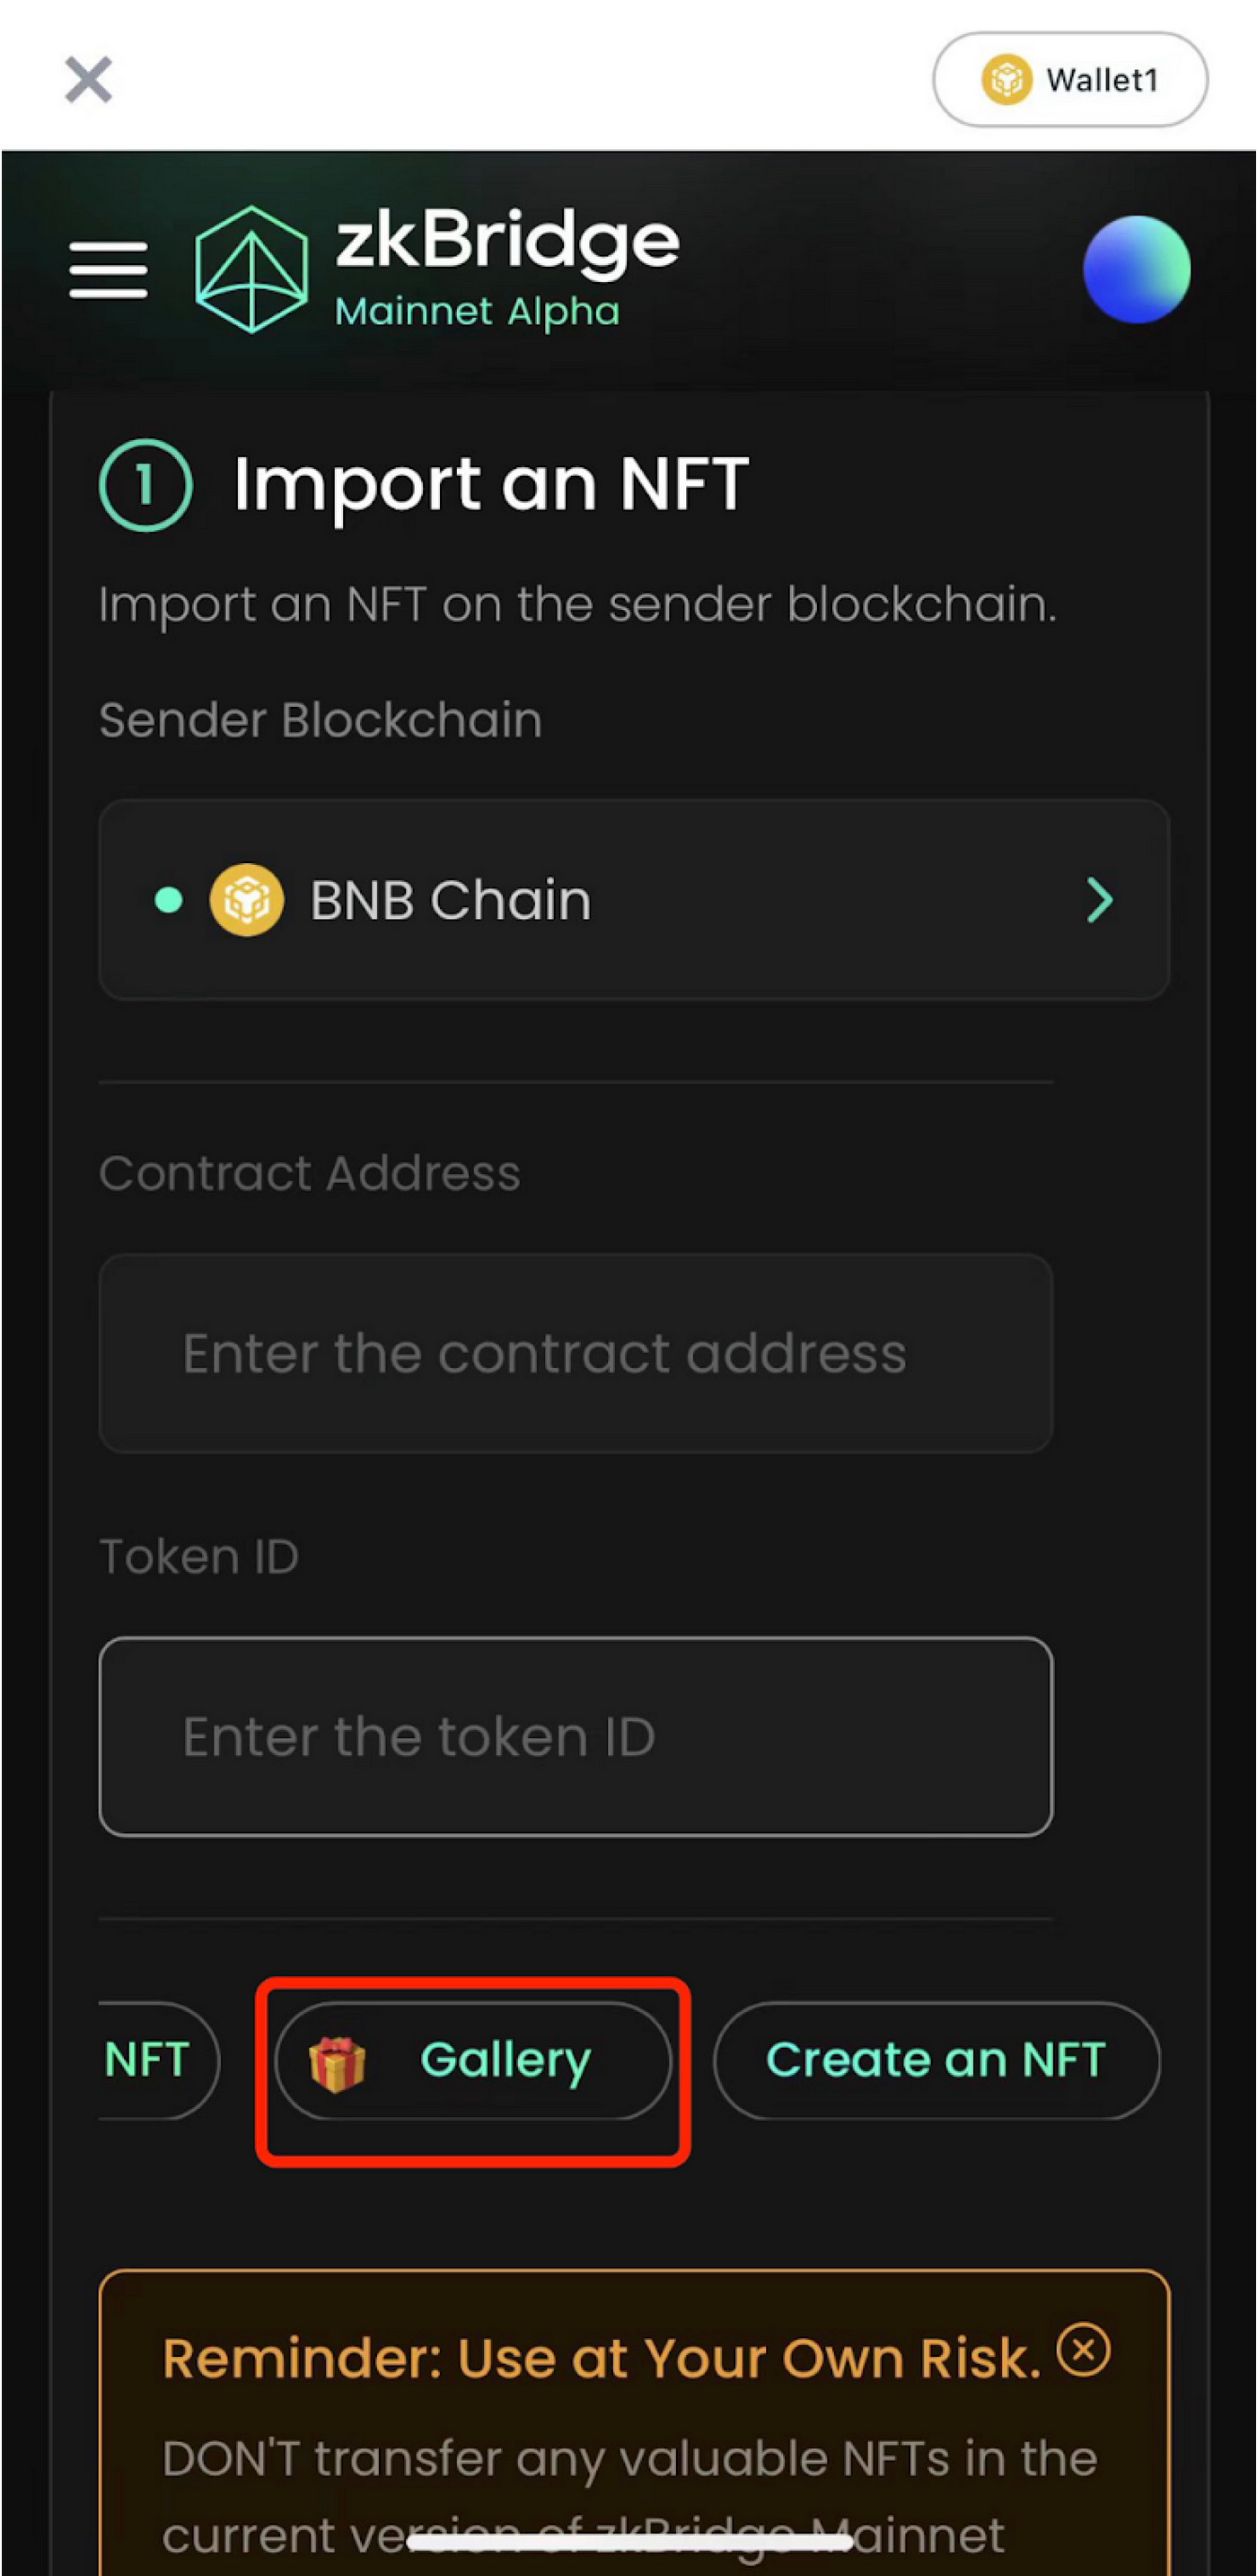

 Alternatively, you can also select “Create an NFT.” For NFT creation guidance, please refer to this link. If you have an NFT in your wallet, simply click “Import my NFT.”
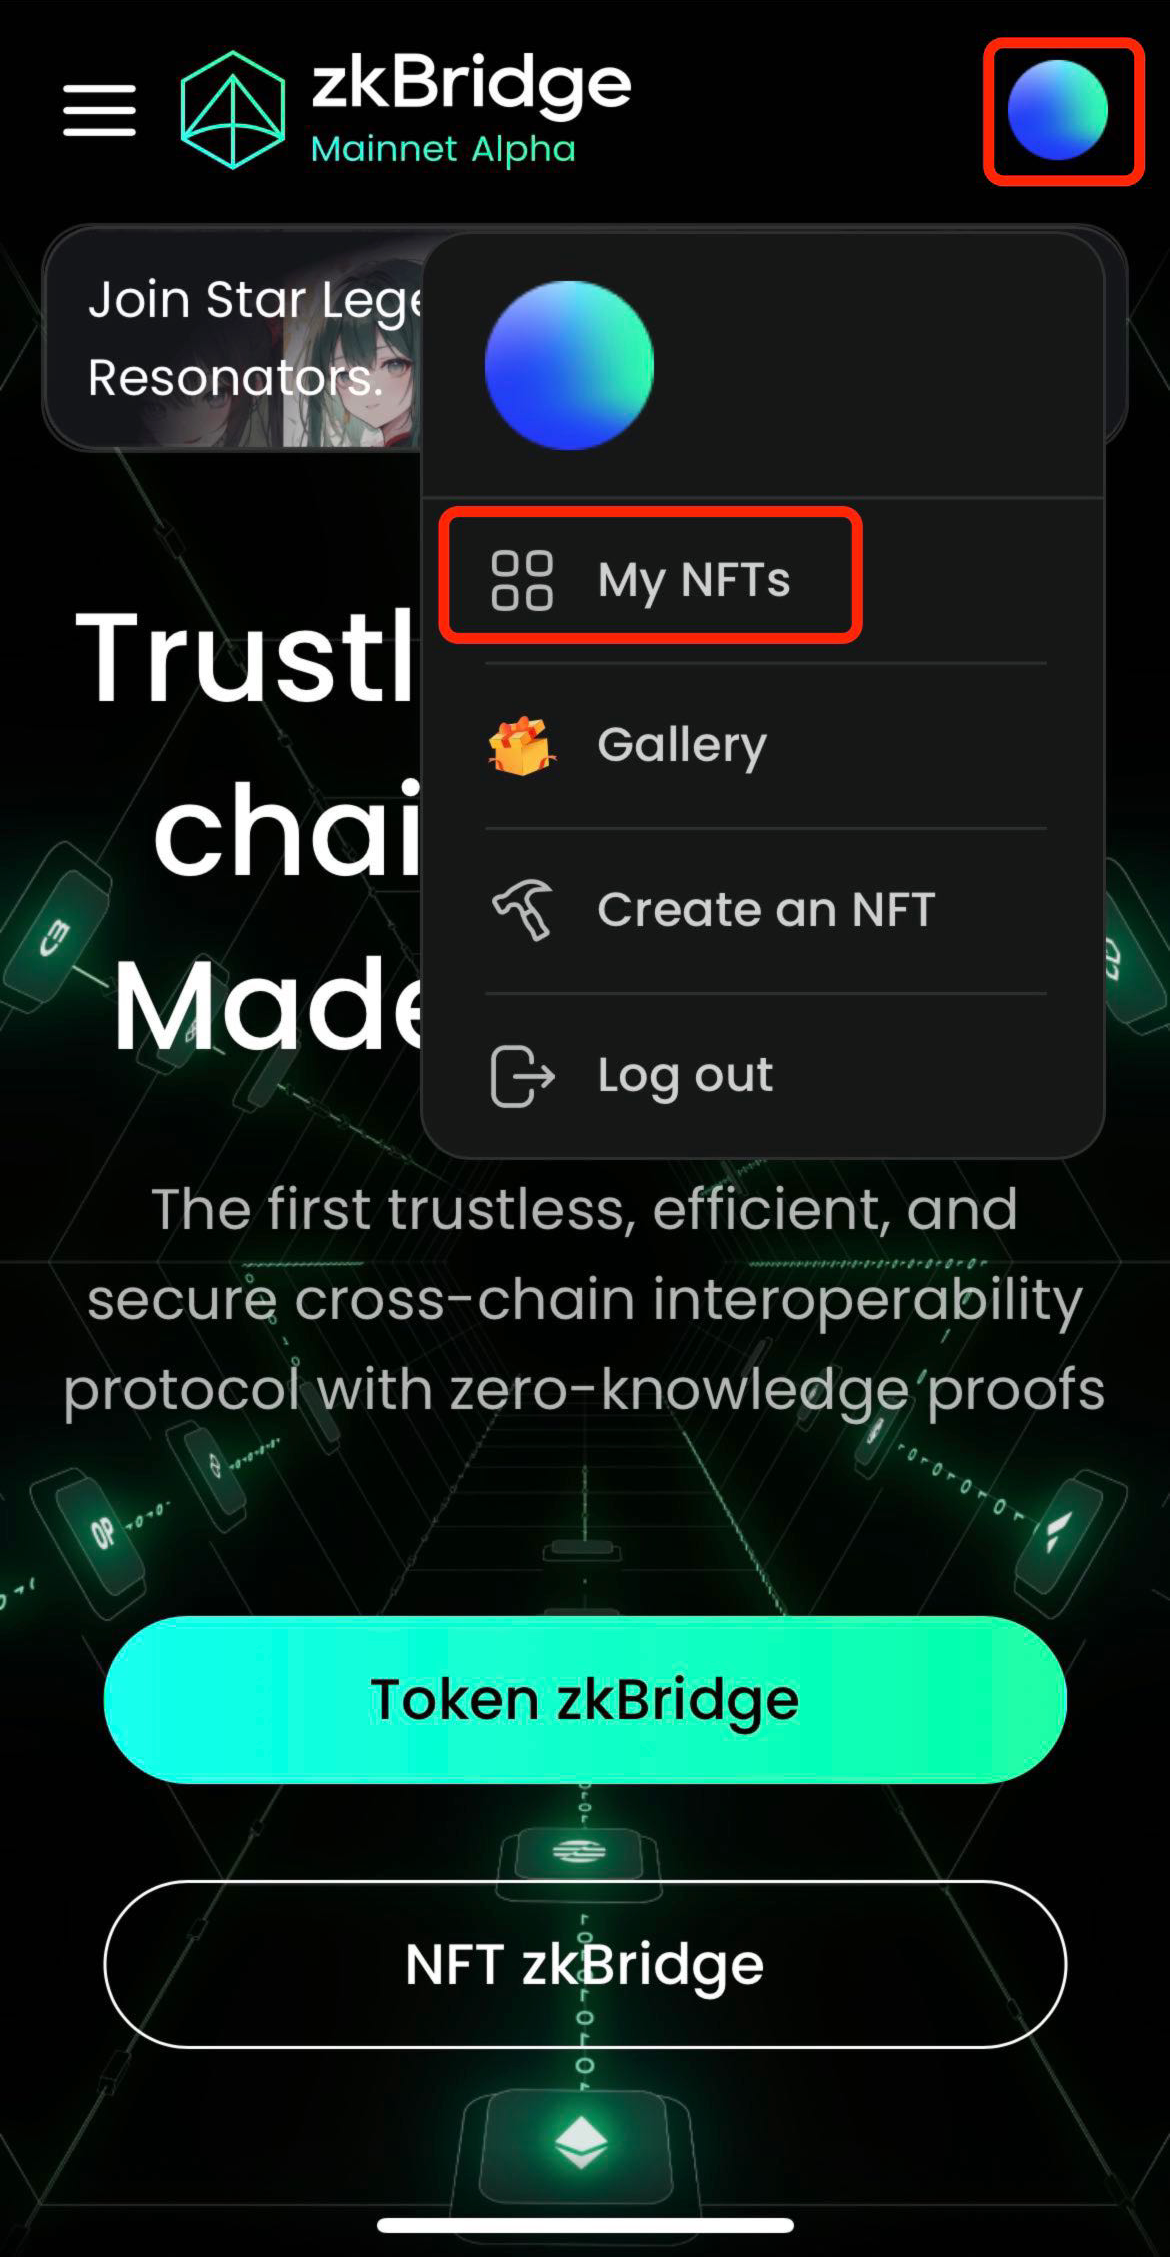
 To find your previously owned NFTs associated with zkBridge, click on the upper-right icon and select “My NFTs”.
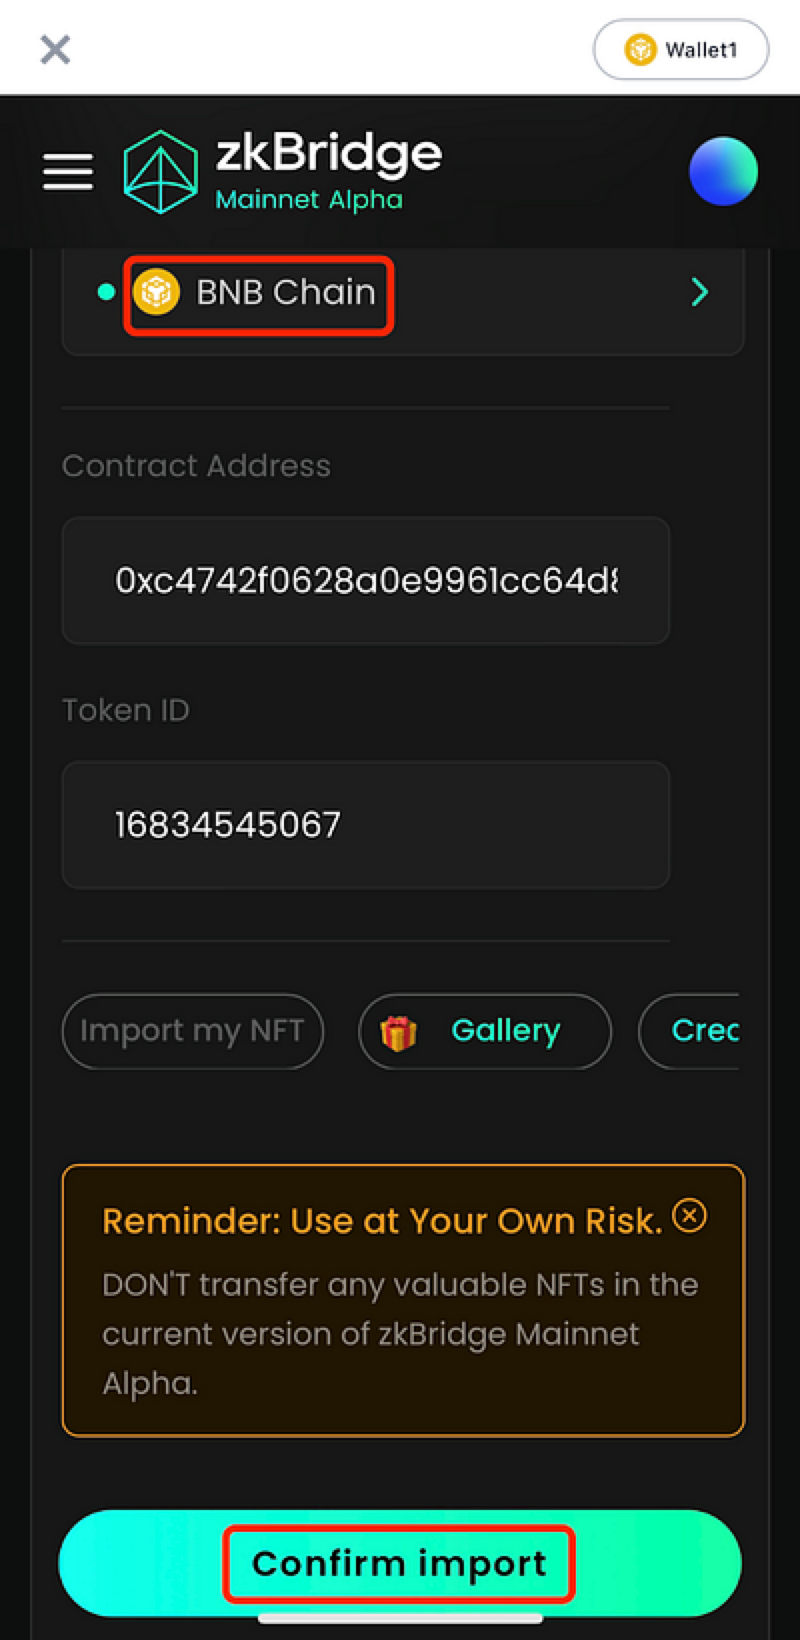
 3. Choose the sender blockchain first, and confirm the import of your NFT.
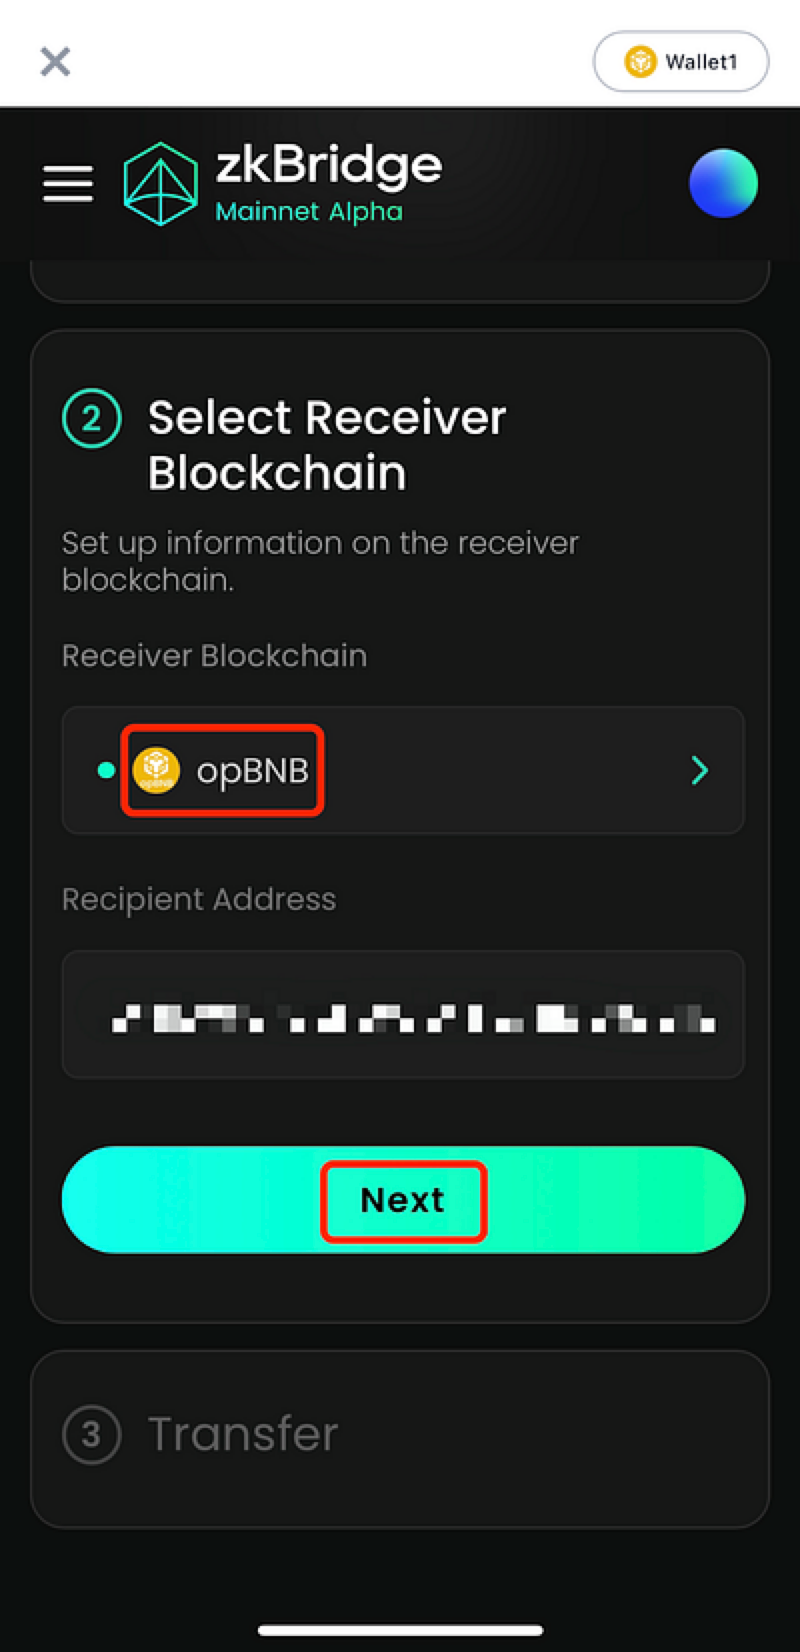
 4. Select the receiver blockchain and click “Next”. The default recipient address is the same as the sender address.
 5. Approve the NFT and transfer it through zkBridge.
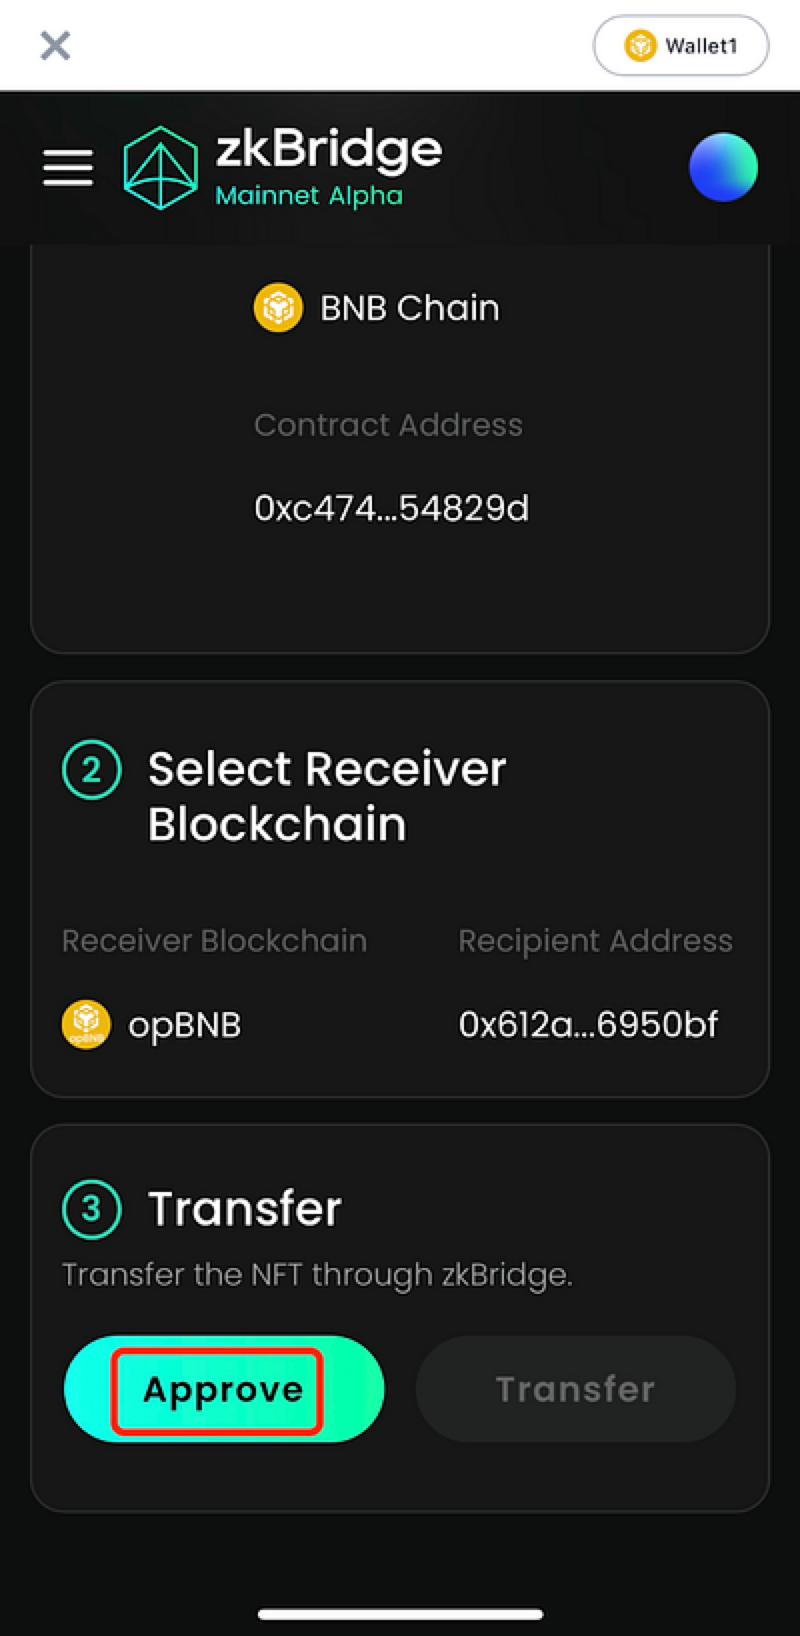
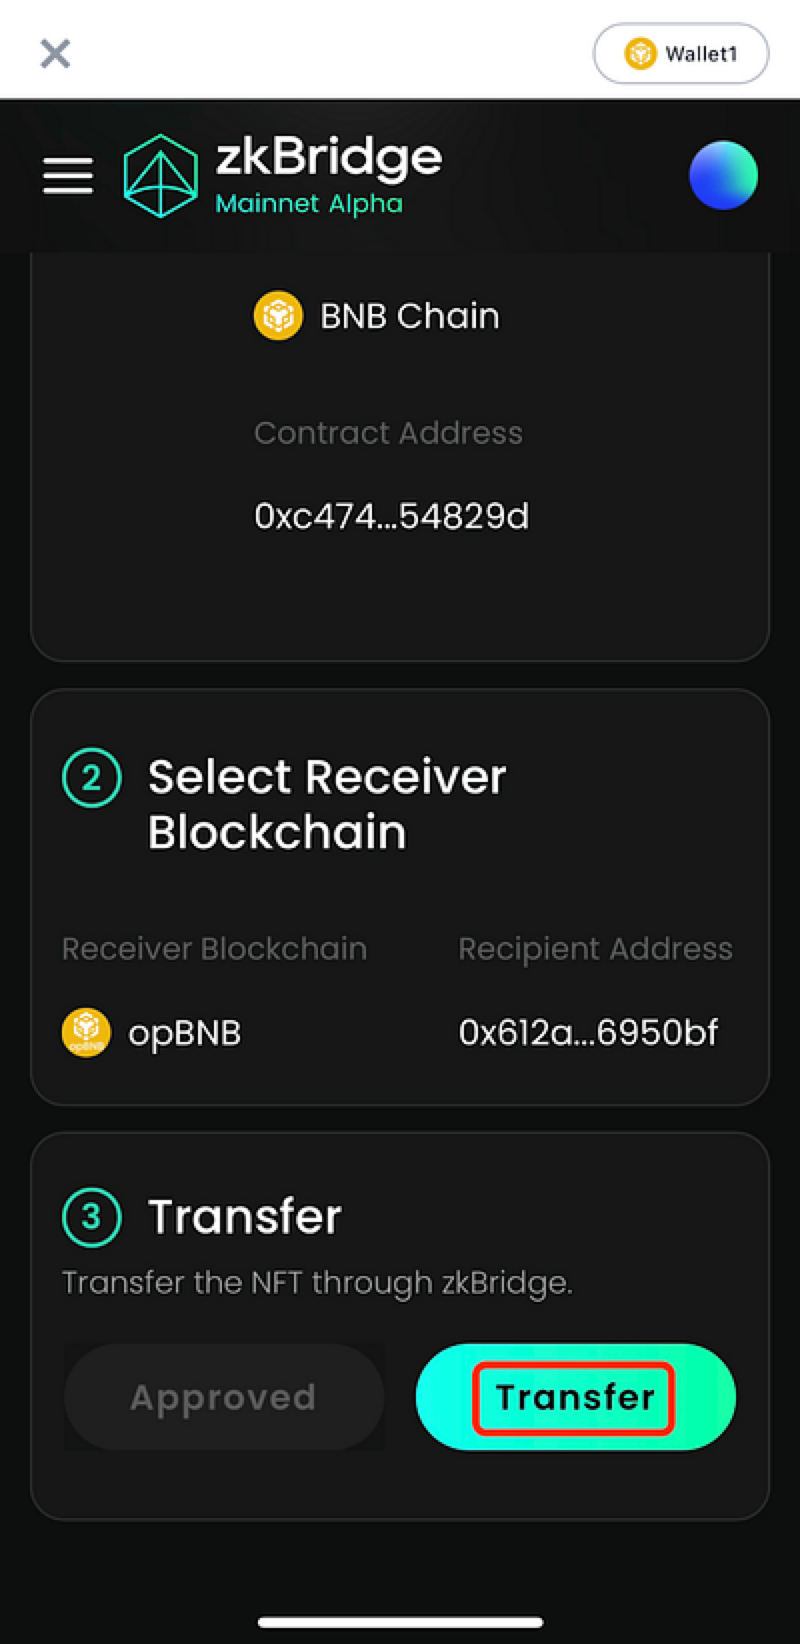 6. Wait for a moment, and you will see that your transaction has been confirmed on the sender blockchain. Visit the History section, and if the status is marked as completed, you will find the transaction hash for both the sender and receiver blockchains.
NOTE:
Complete the missions in your Binance Web3 Wallet for a share of the rewards
Activity Ends: 2024/03/04 23:59 (UTC)


![[LIVE] Engage2Earn: McEwen boost for Rob Mitchell](https://cdn.bulbapp.io/frontend/images/c798d46f-d3b8-4a66-bf48-7e1ef50b4338/1)


![[ℕ𝕖𝕧𝕖𝕣] 𝕊𝕖𝕝𝕝 𝕐𝕠𝕦𝕣 𝔹𝕚𝕥𝕔𝕠𝕚𝕟 - Is Trump Dying? Or Only Killing The Market?](https://cdn.bulbapp.io/frontend/images/a129e75e-4fa1-46cc-80b6-04e638877e46/1)


